First, please download the files you’ll need for this exercise.
Once you unpack the downloaded zip file, open the main folder in your code editor. You will see that you have two folders: one for images and one for your CSS files.
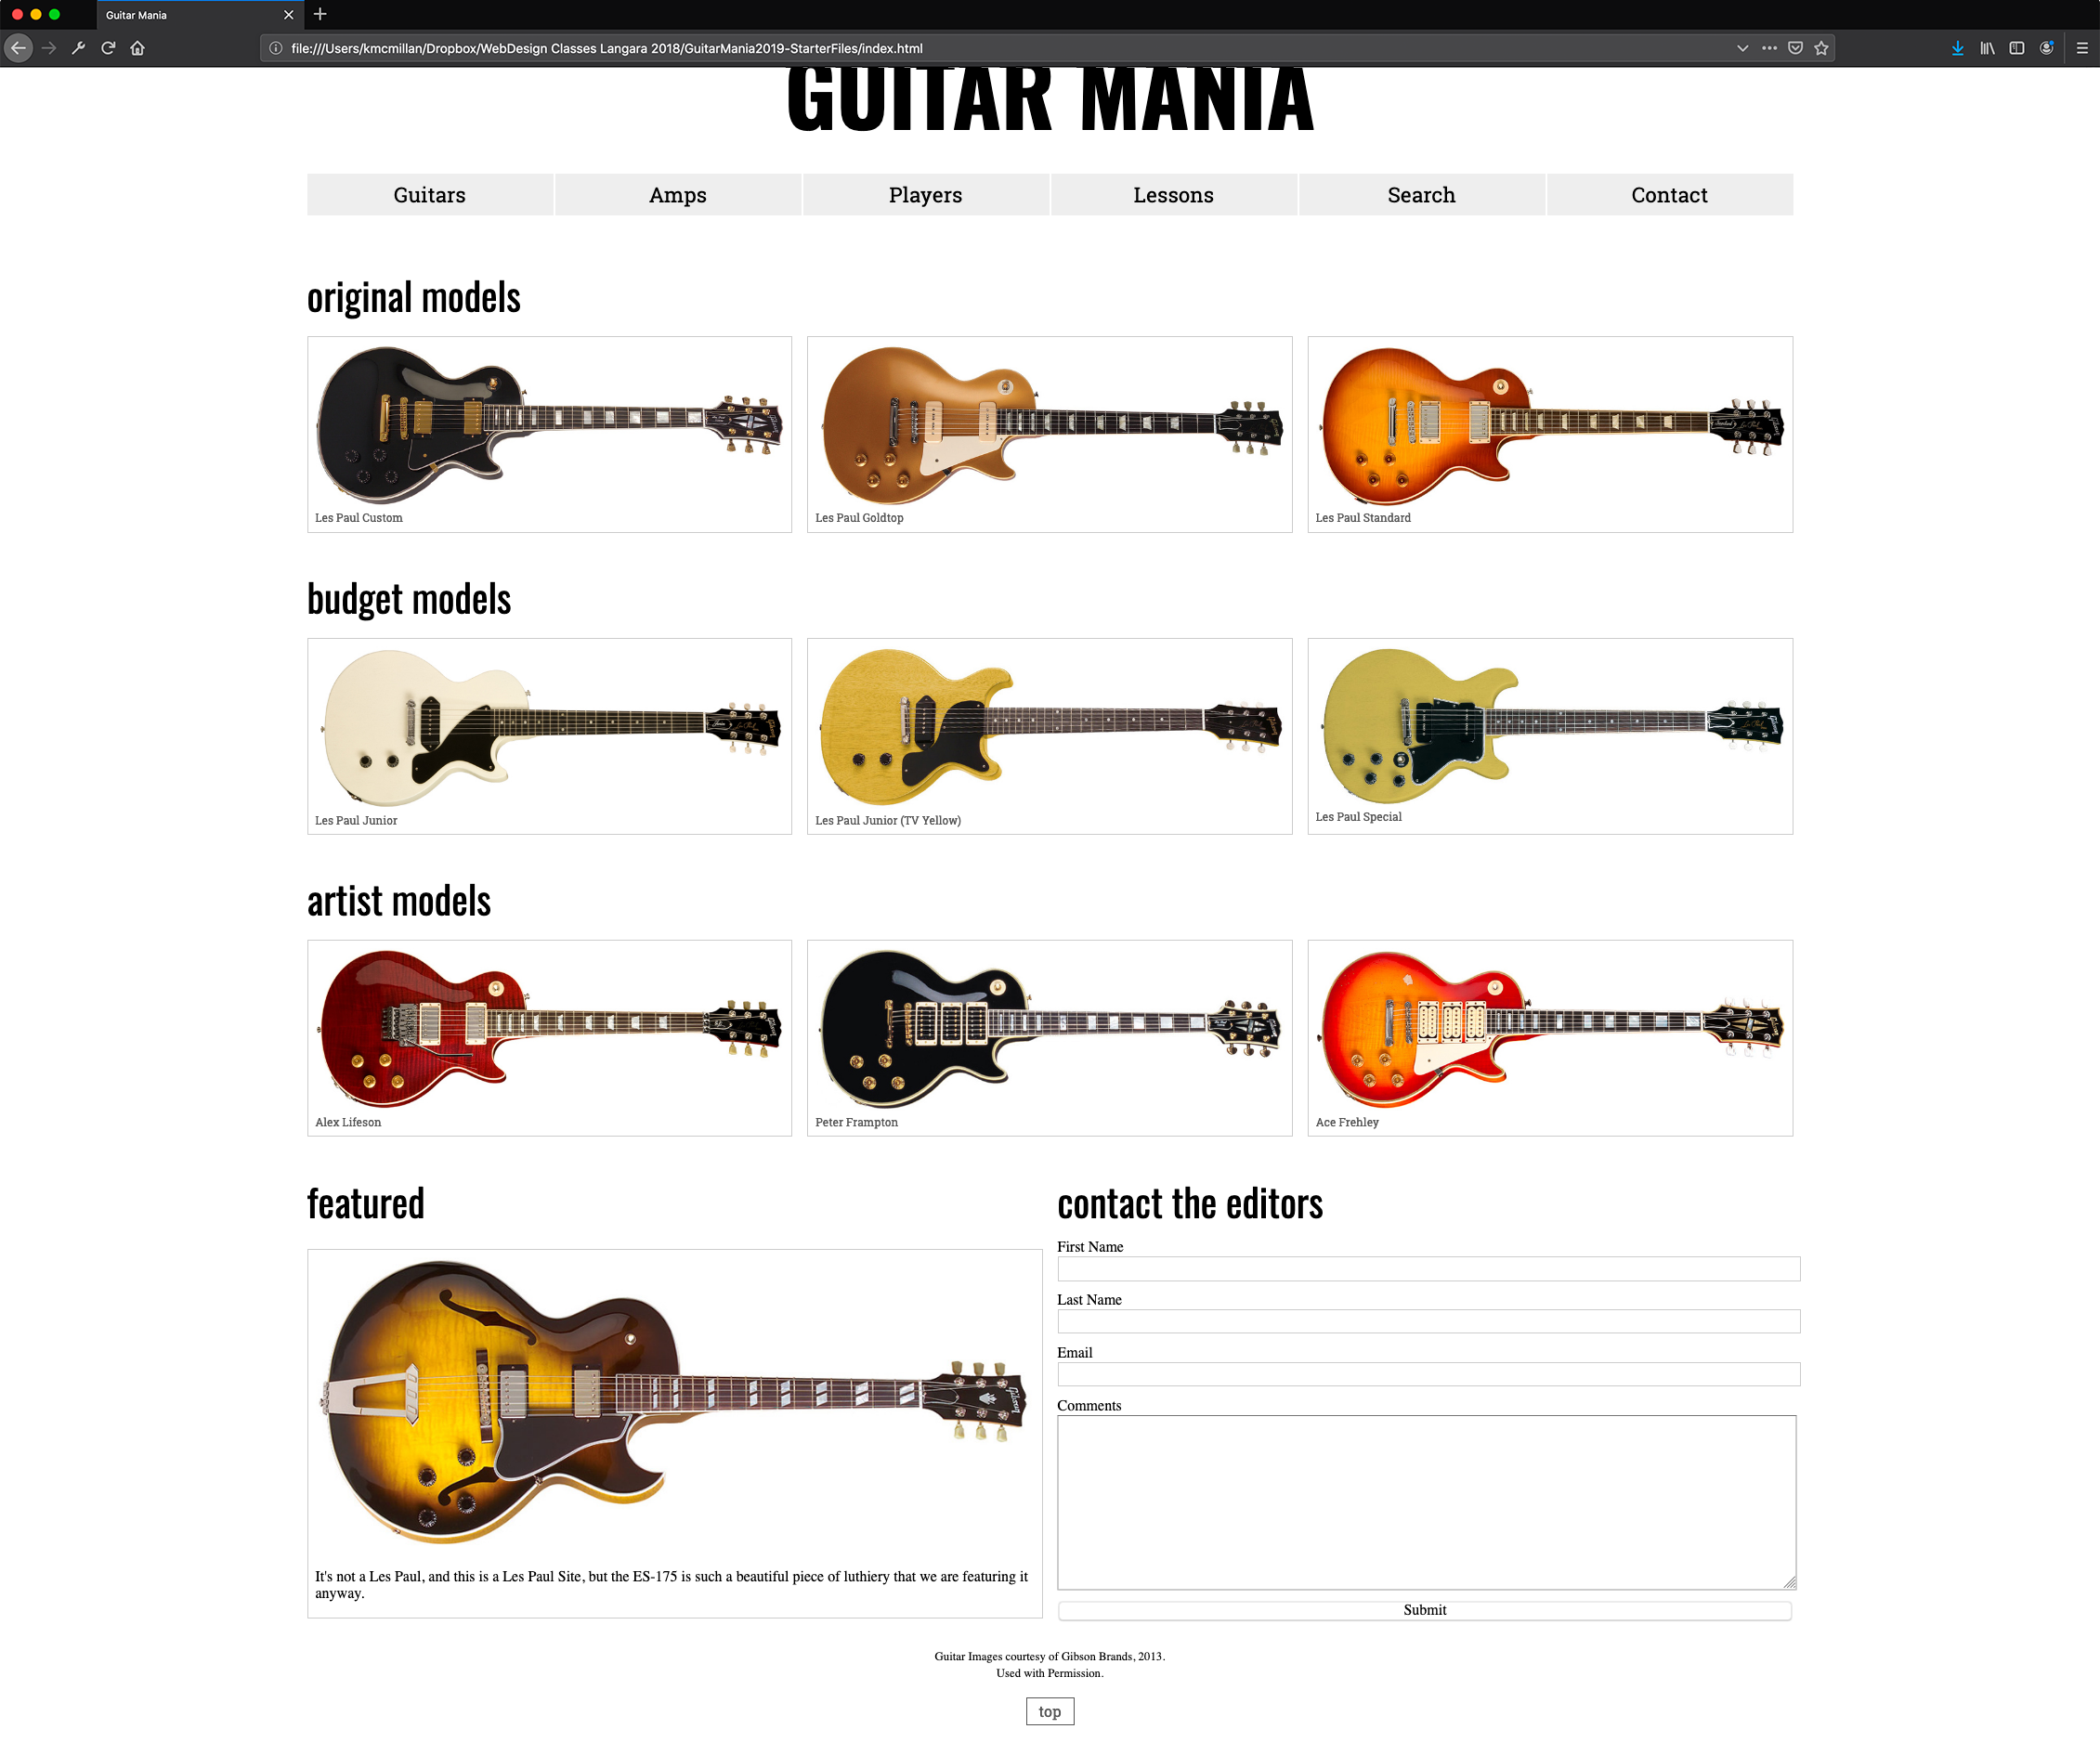
In this exercise, we are going to use a mobile first methodology to build the responsive layouts of the index page of a site devoted to Gibson guitars.
Here’s what our final comp is going to look like:
And here it is in the iPhone simulator:
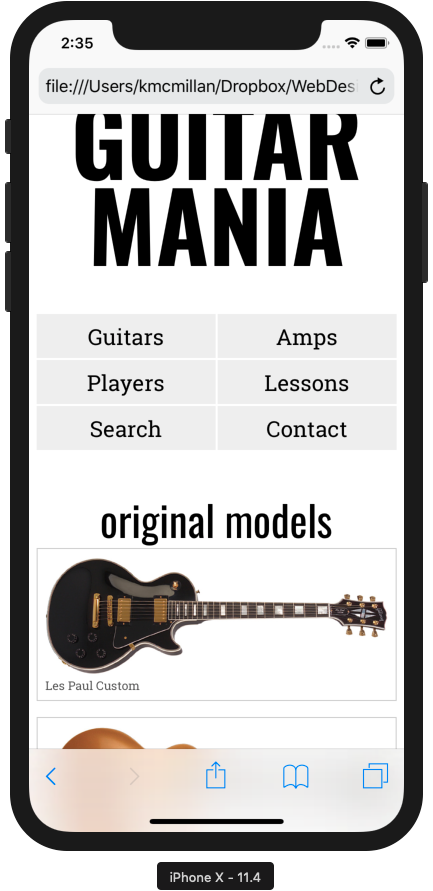
Please look at the screenshots included in the download, as there are a couple additional layout stages.
The Process, In A Nutshell…
Responsive web design really rests on four pillars:
- Fluid Images
- Percentage or Fractional Widths For Layout
- CSS3 Media Queries
- The Viewport Meta-Tag
In this exercise, we will see how each of the above items contributes to making a site responsive to different screen sizes.
Basic Setup
Wire up stylesheet to this html file by adding the following line inside the HEAD of your document.
<link href= "css/style.css" rel = "stylesheet">
Make a file called style.css and save it inside the css folder.
Finally put the phrase Guitar Mania inside your TITLE tags.
Now, let’s move on to writing the HTML we will need for the exercise.