First, please download the starter files.
Make a new database and install the duplicatored site into it. As part of that duplicator process, make a new Admin Account, using your first and last name as both the user name and password.
For the nickname, use your initials. Make sure that you do this, because you will use the nickname in one place in the exercise.
Then install the following:
- the Blogberg theme
- the Relevanssi plugin
Important: if the JetPack plugin is installed in the site, please deactivate and delete it. It might conflict with other functionality in the site.
As part of the original installation of the theme, you might be asked to install a number of other plugins and possibly demo content.
Do not install any of those plugins or that content. Install only the theme and the two plugins listed above.
If you are at home and have a slow internet connection, sometimes installations won’t work. An easy fix is to download the theme or plugin manually and install it that way. Instructions for doing that are here.
Do not edit any theme template files. All CSS edits need to go in the CSS area of the Customizer.
For the CSS tasks, your most valuable tool is the Inspector.
The tasks you will do are listed in sections below.
If this is a test…
If this is a test, each section has an associated mark value.
You must do all the tasks in the exercise.
The test is out of 75 points, with the possibility of 10 bonus points. You cannot score over 75, however.
Please scan the tasks before starting: some are easier, or worth more, than others.
If this is a lab or weekly exercise…
If it’s a lab exercise (not a test), all tasks are of equal value, you must do all the tasks including the bonus, and the exercise is out of 1.
Site Identity: 10 marks
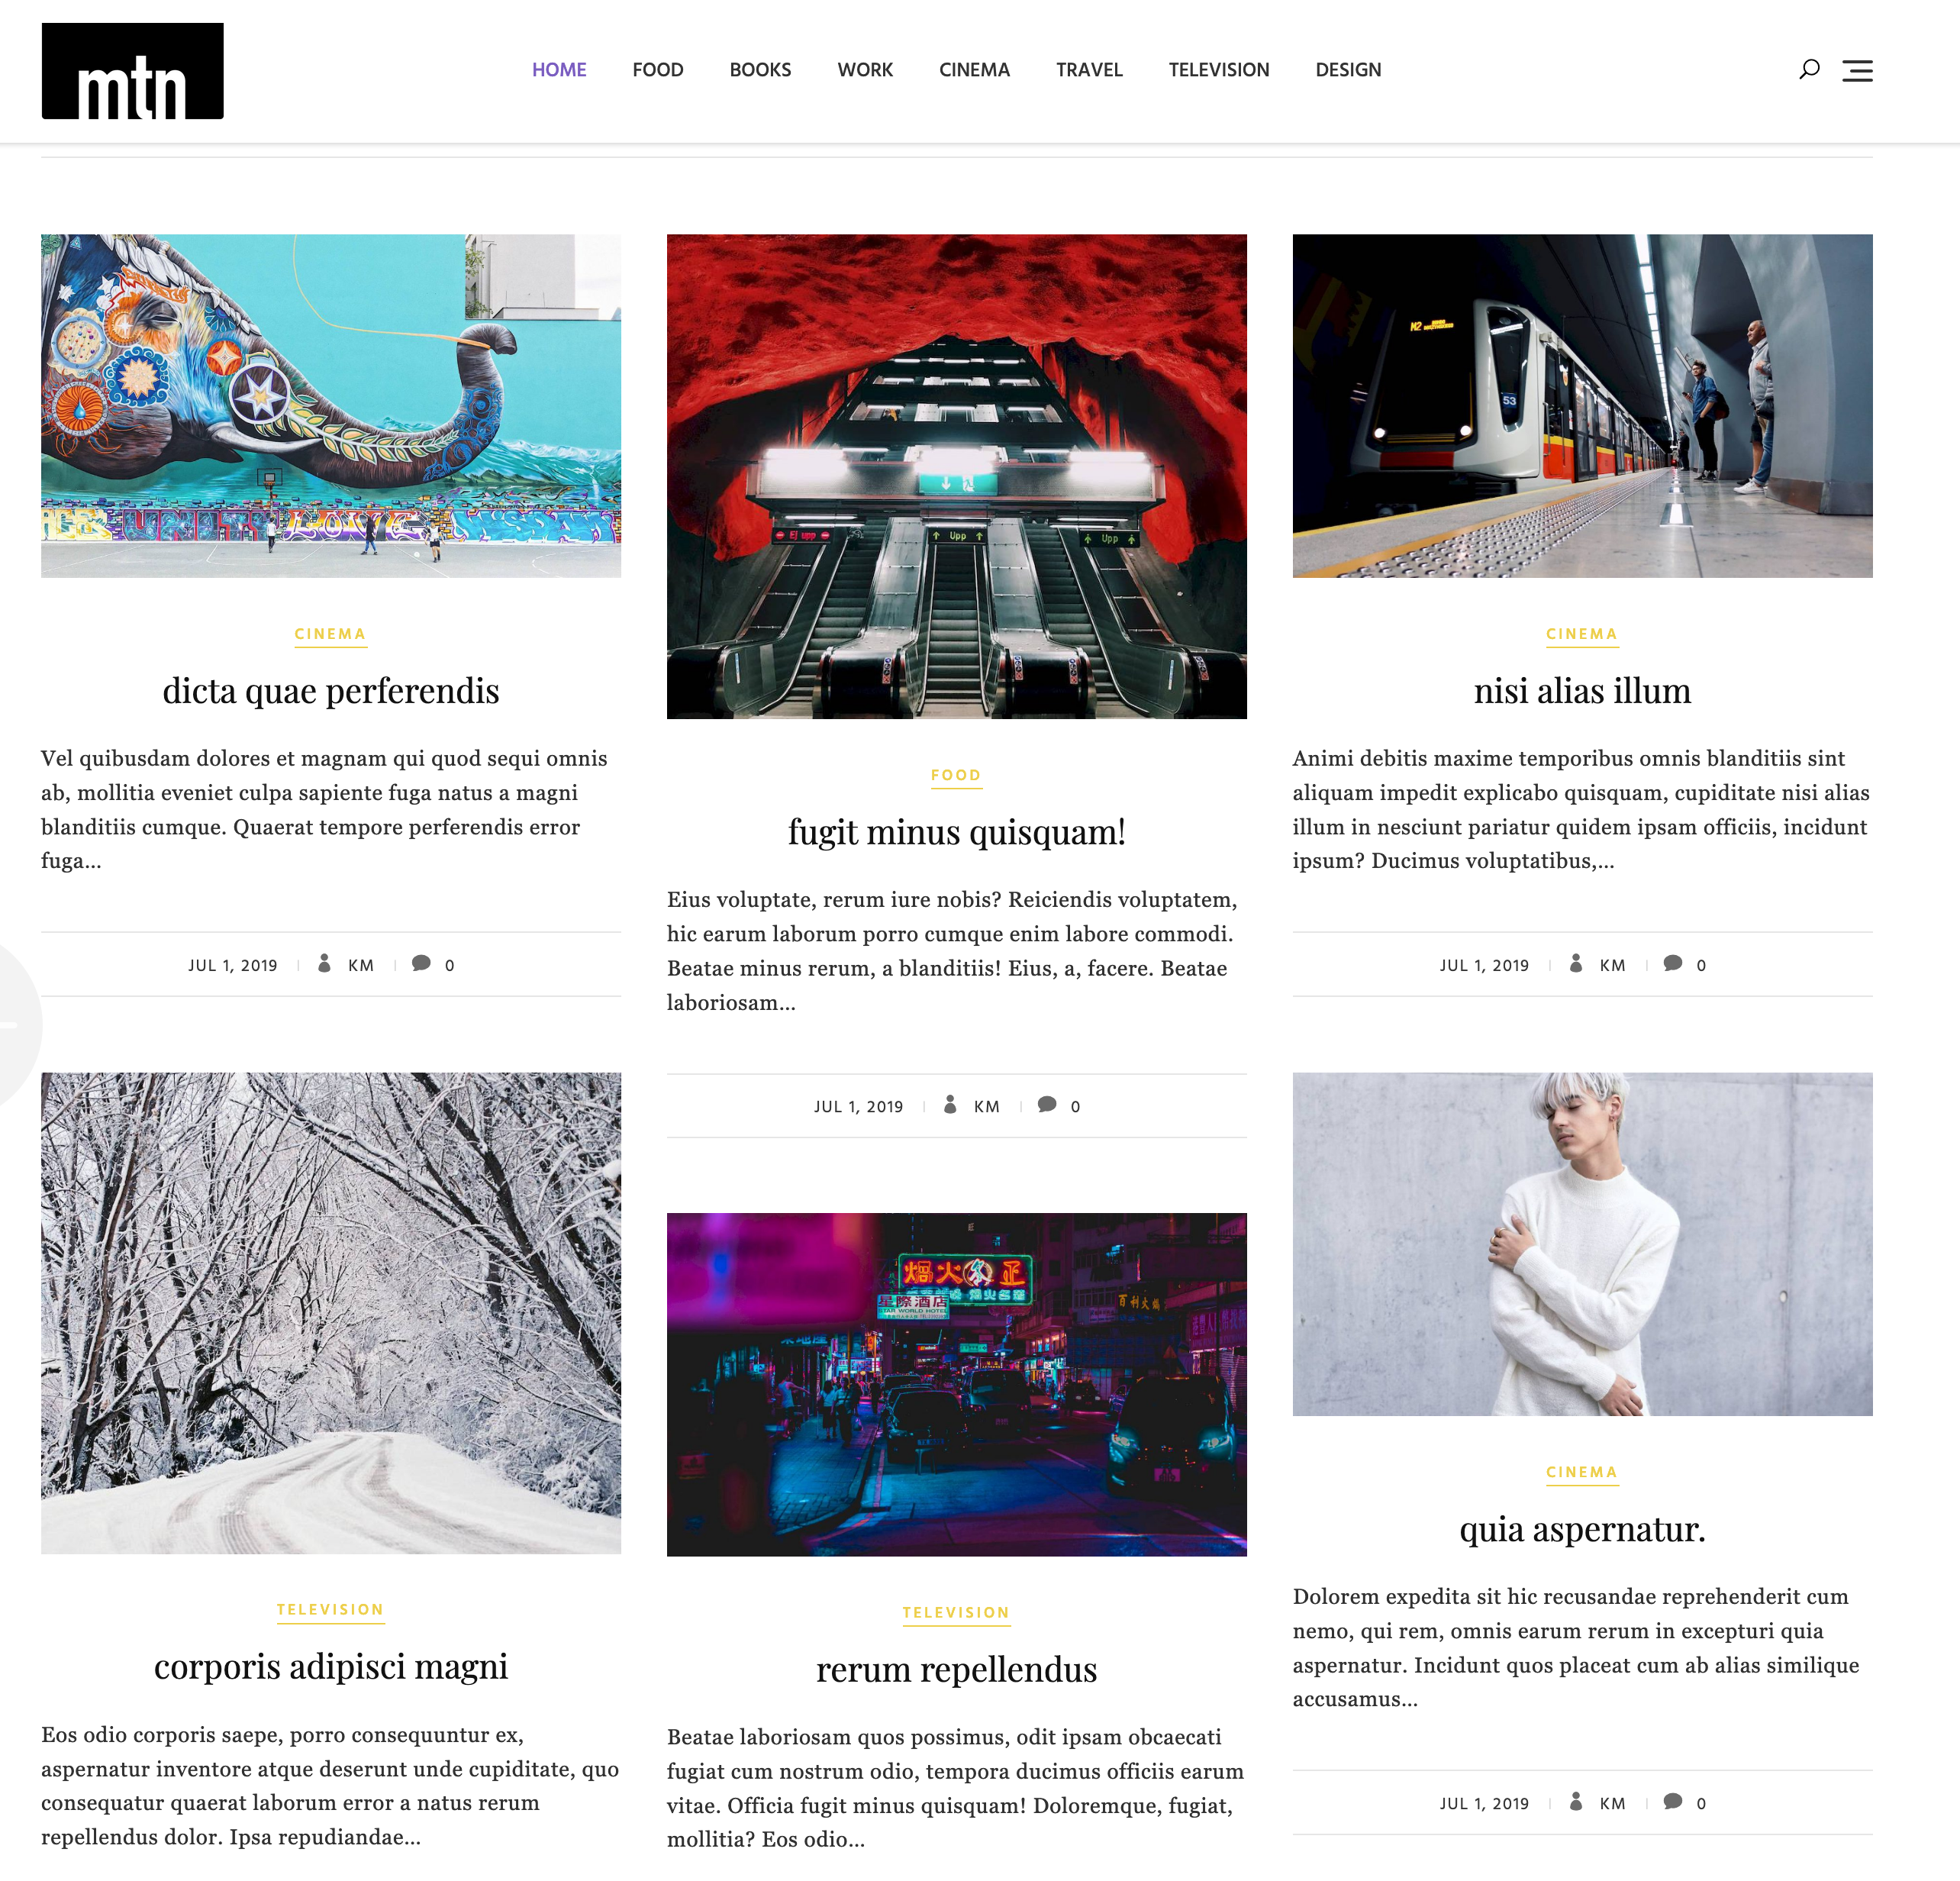
Change the name of the site to mtn and the site tagline to art, politics, etc.
In the media library there is a simple logo file. It is the second file in the library and has a file name of cropped-logo3-2.png.
Use this logo as a Site Logo and as a Site Icon (favicon).
Make sure that the site icon usage is not cropped.
With the site logo, make sure the image is cropped so the logo is rectangular rather than square.
In the header, make sure that the site logo and the site tagline are displayed. In the footer, the site tagline must not appear.
In the header, arrange and style them like the screenshot below.
Make sure also that the logo image does not shrink narrower than the tagline as the page gets smaller.
Menus: 5 marks
In this section you will make three menus.
MENU ONE
First, make a menu called Galleries, with links to two empty pages (one called gallery-design and the other called gallery-people).
Do not assign this menu to a location.
MENU TWO
Make another menu called Main Menu. Give it links to the Home Page, then to all the categories in the site, in the order seen in the screenshot below.

Assign it to the menu location that puts it at the top of the page.
(If the menu items don’t initially work, go to the Settings menu and resave your permalink settings. )
(And don’t worry about the fact that the HOME link in the screenshot is pink.)
MENU THREE
Finally, make the footer area menu have social media links (text only, not icons) for facebook, twitter, linkedin, and pinterest.
You do not need CSS for this.
Front Page Setup: 15 marks
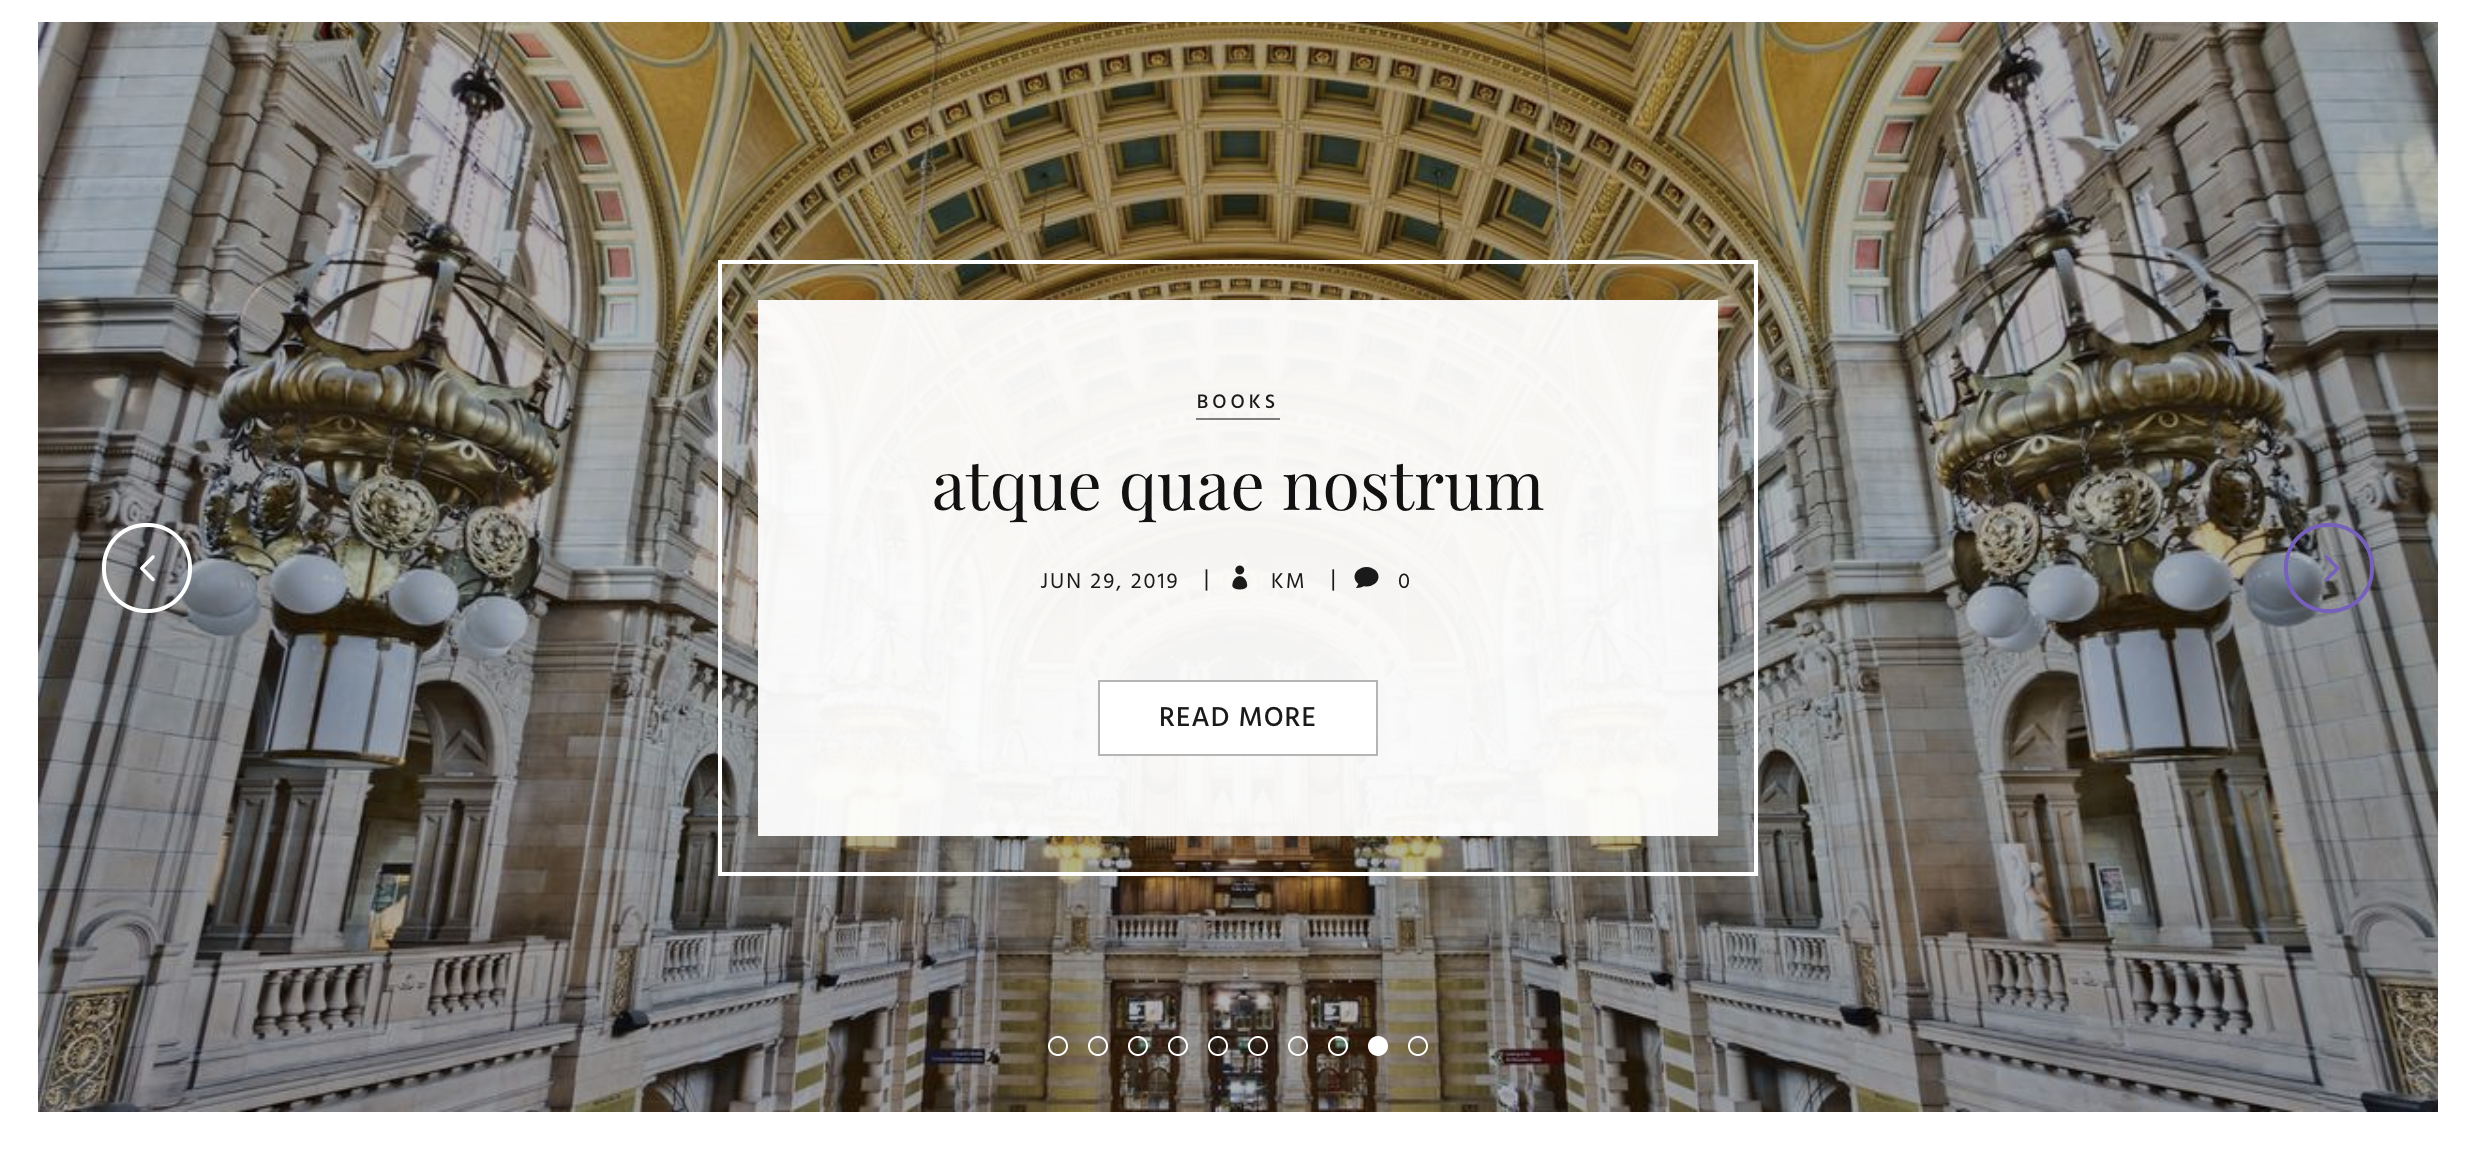
Slider
Set up a slider on the front page. Use nine posts from the books category. This does not require any plugin.
Make the slider change to the next post every four seconds.
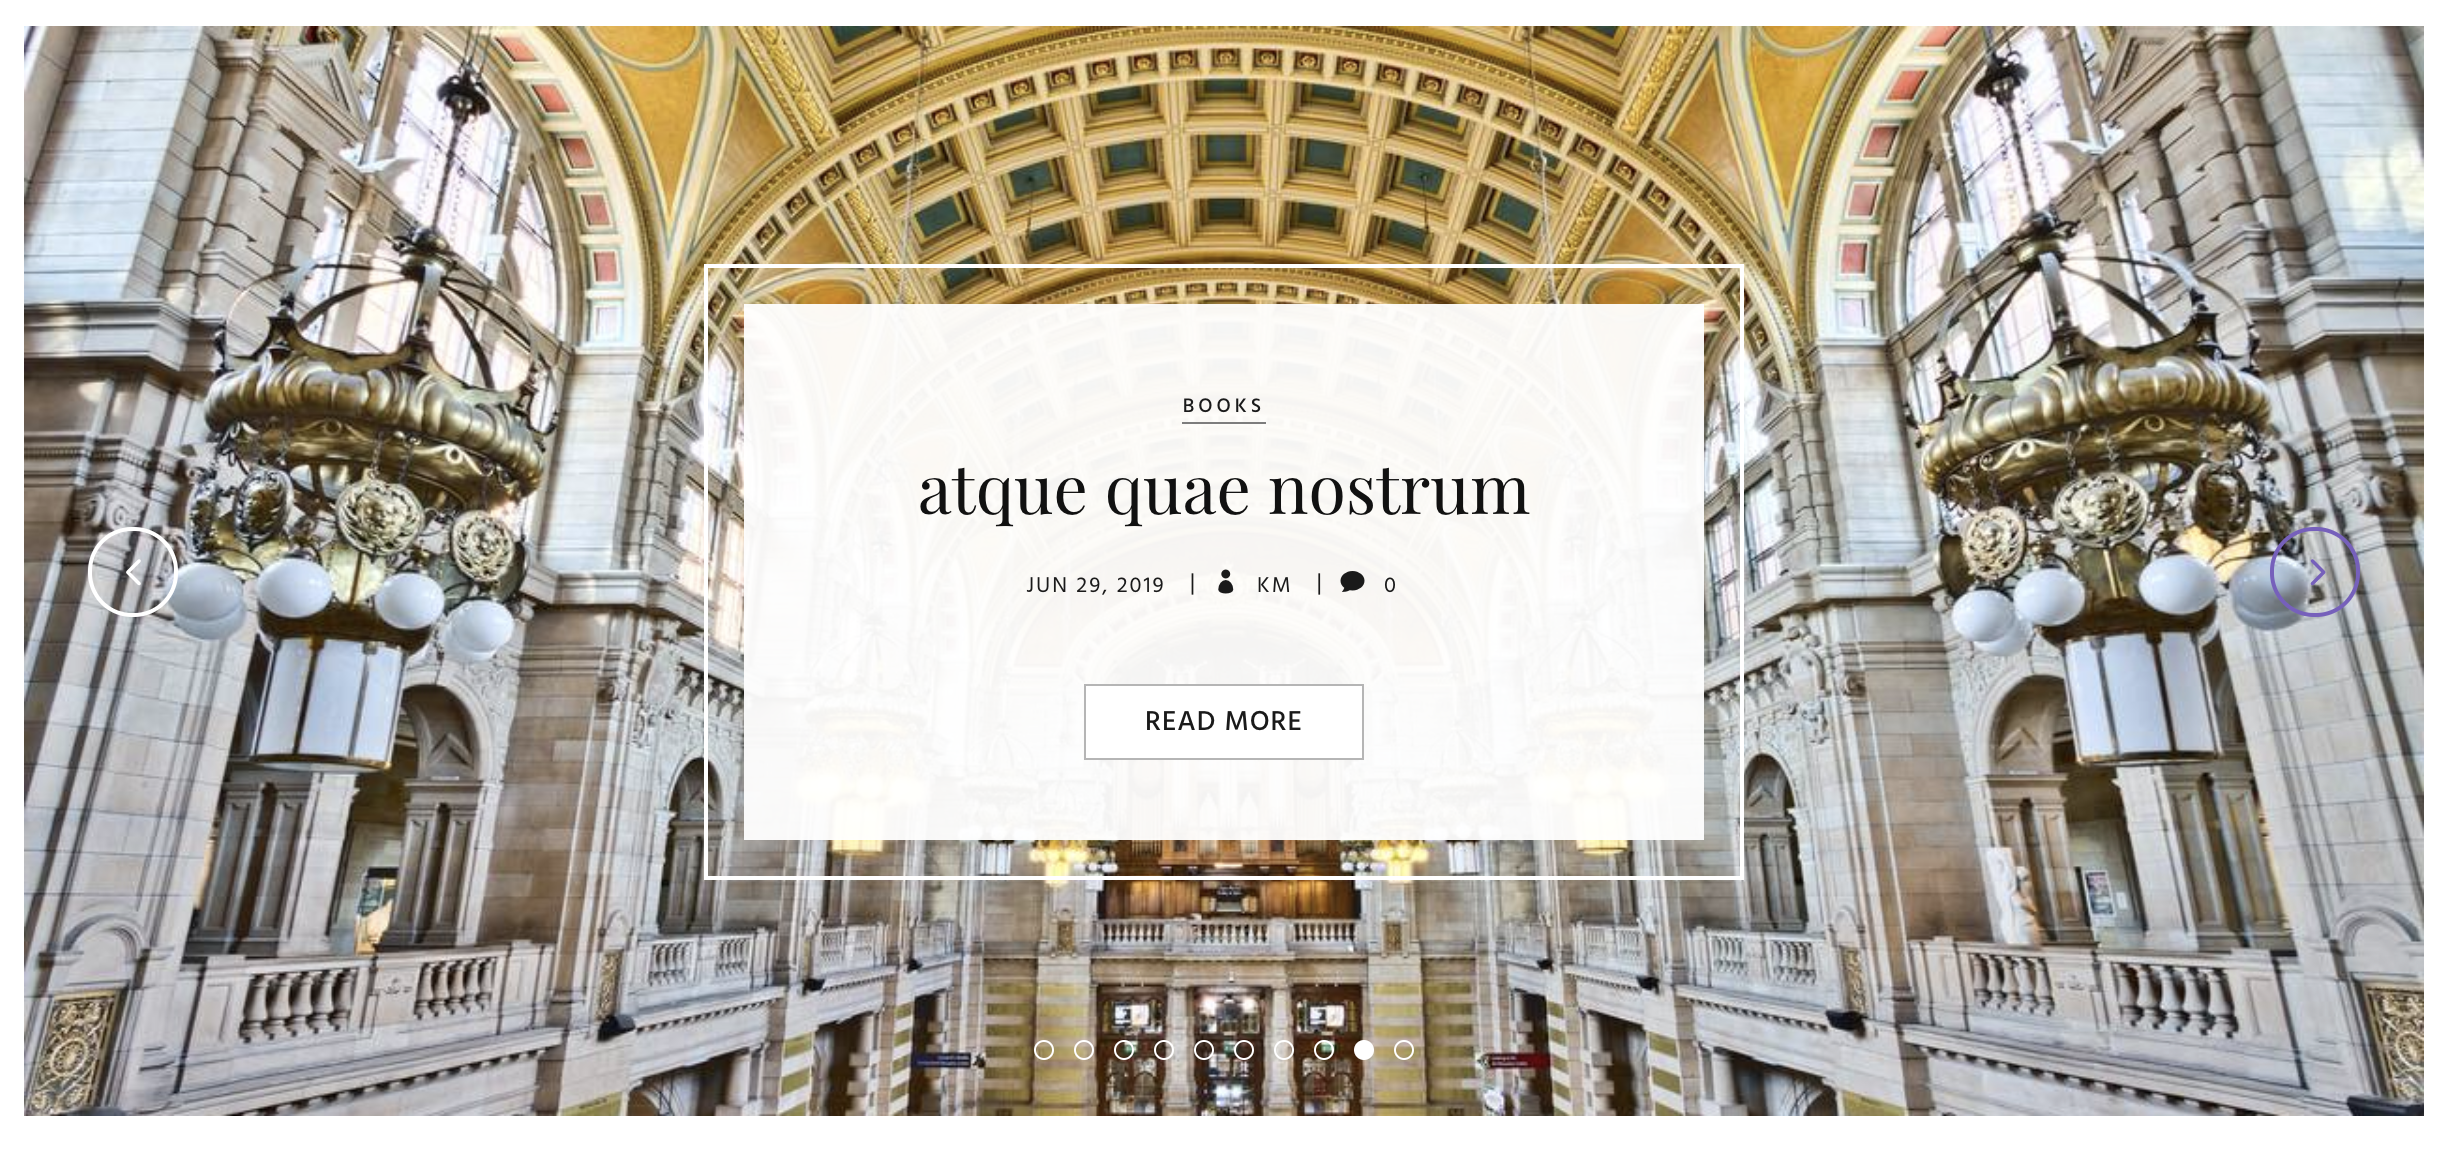
The slider decreases the apparent brightness of the images. Figure out how to turn that off. Below are before and after screenshots showing the difference.
Front Page Posts
Make sure that only 21 stories show up on the front page. This is a WordPress setting.
Make the stories on the front page, and on any category archives, take three columns.
This is done in the dashboard, with a theme-specific setting, not in CSS.
Make yourself the author of all posts except the one called dicat quae perferendis. For the dicat quae perferendis post, make sure that the author remains the original author (it will be some form of my name).
Make the author credit for the articles you “own” show the nickname (initials, in this case) rather than the full username, as in the screenshot below.
Excerpt Lengths & Feature Styling: 5 marks
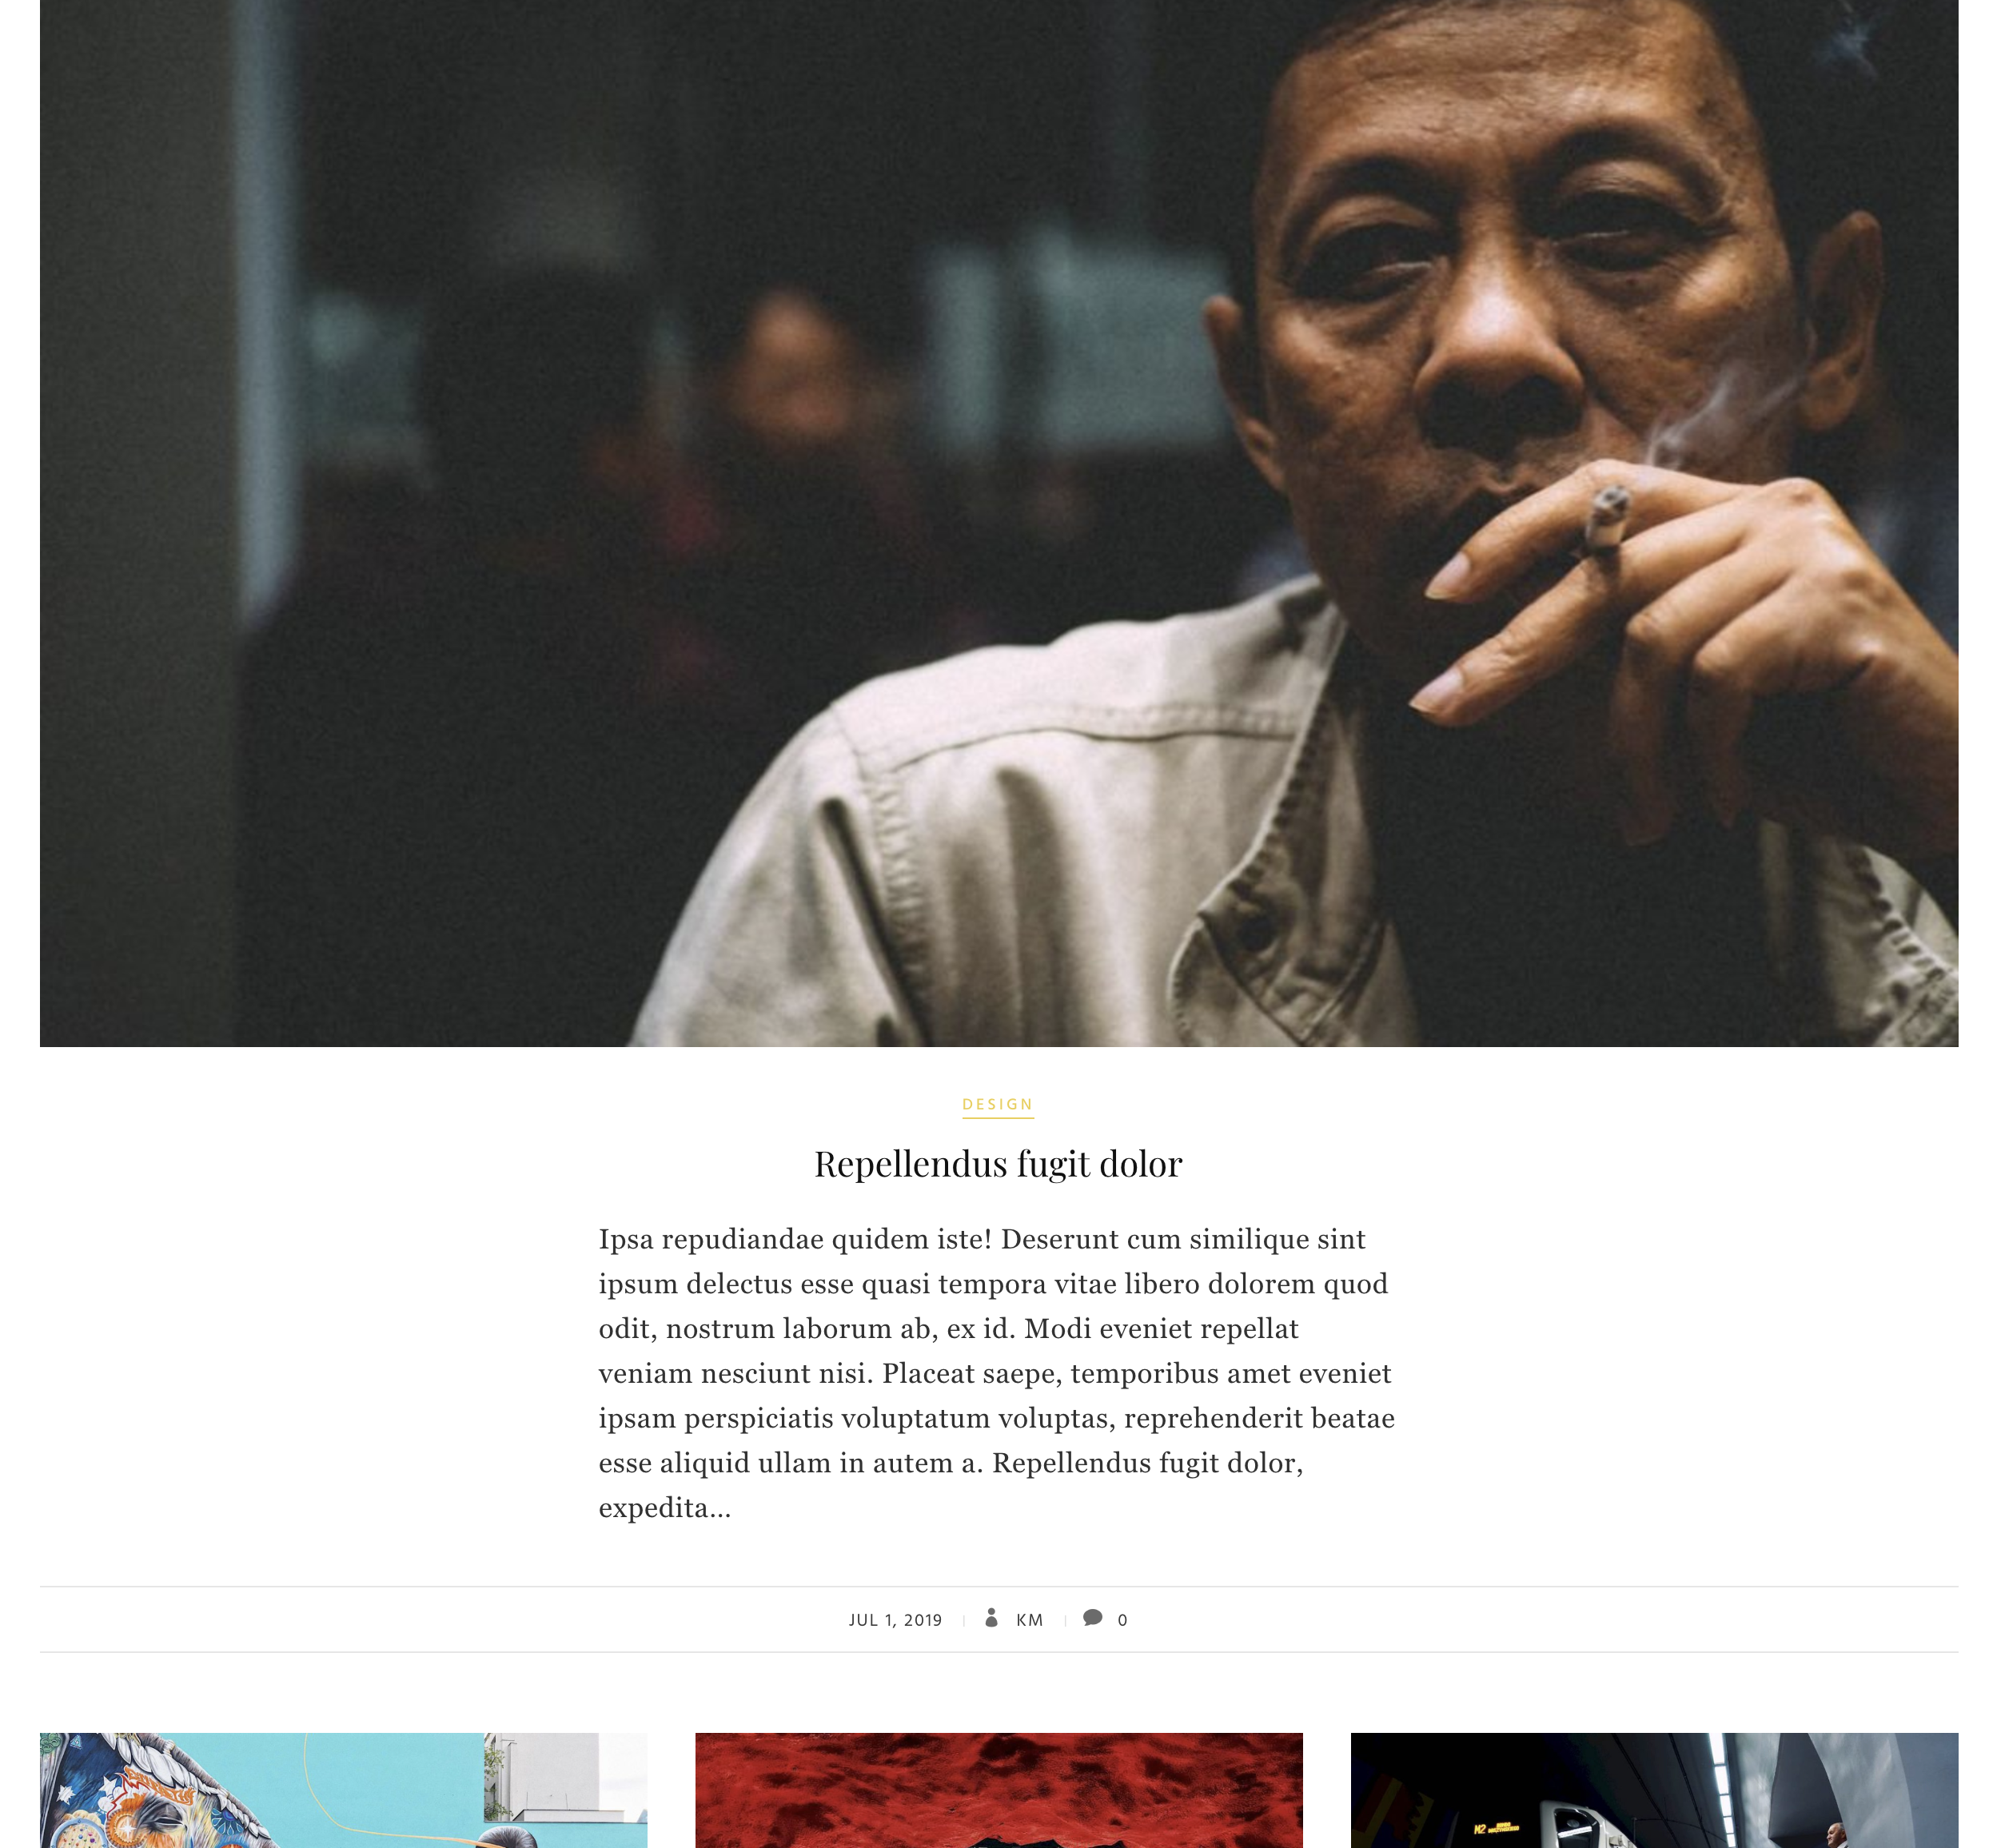
Designate the post called repellendus fugit dolor to be a sticky post.
Make generated excerpts for sticky posts be 80 words and make generated excerpts for other posts be 25 words.
You do not need to write any post summaries: they will be generated automatically. The excerpts are seen in the front page.
Style the sticky post so that the paragraph line lengths do not get too long (at desktop width) or too short (at phone width). Make sure the content is still responsive.
Single Story Views: 10 marks
The Single Post views (ie the full view of any post) can have a sidebar if you chose to have one.
The first thing in the sidebar will be a section entitled THE MISSION OF MTN. It will have a photo of a man with a white beard and then three short paragraphs of text of your choice.
The photo is included in the media library of the site you’ve installed. Make sure that the photo is the same width as the sidebar.
Underneath that section in this sidebar you will need to put the menu entitled galleries that you made earlier in this exercise.
If you have never put a menu in a sidebar before, work out how to do so. Start by asking what other kinds of things typically appear in sidebars.
The screenshot below shows what to do. (Note: there may be small visual differences because of the screenshot was made using the traditional widget format rather than the new block widget format).

Plugin Configuration Section
Relevanssi (15 marks)
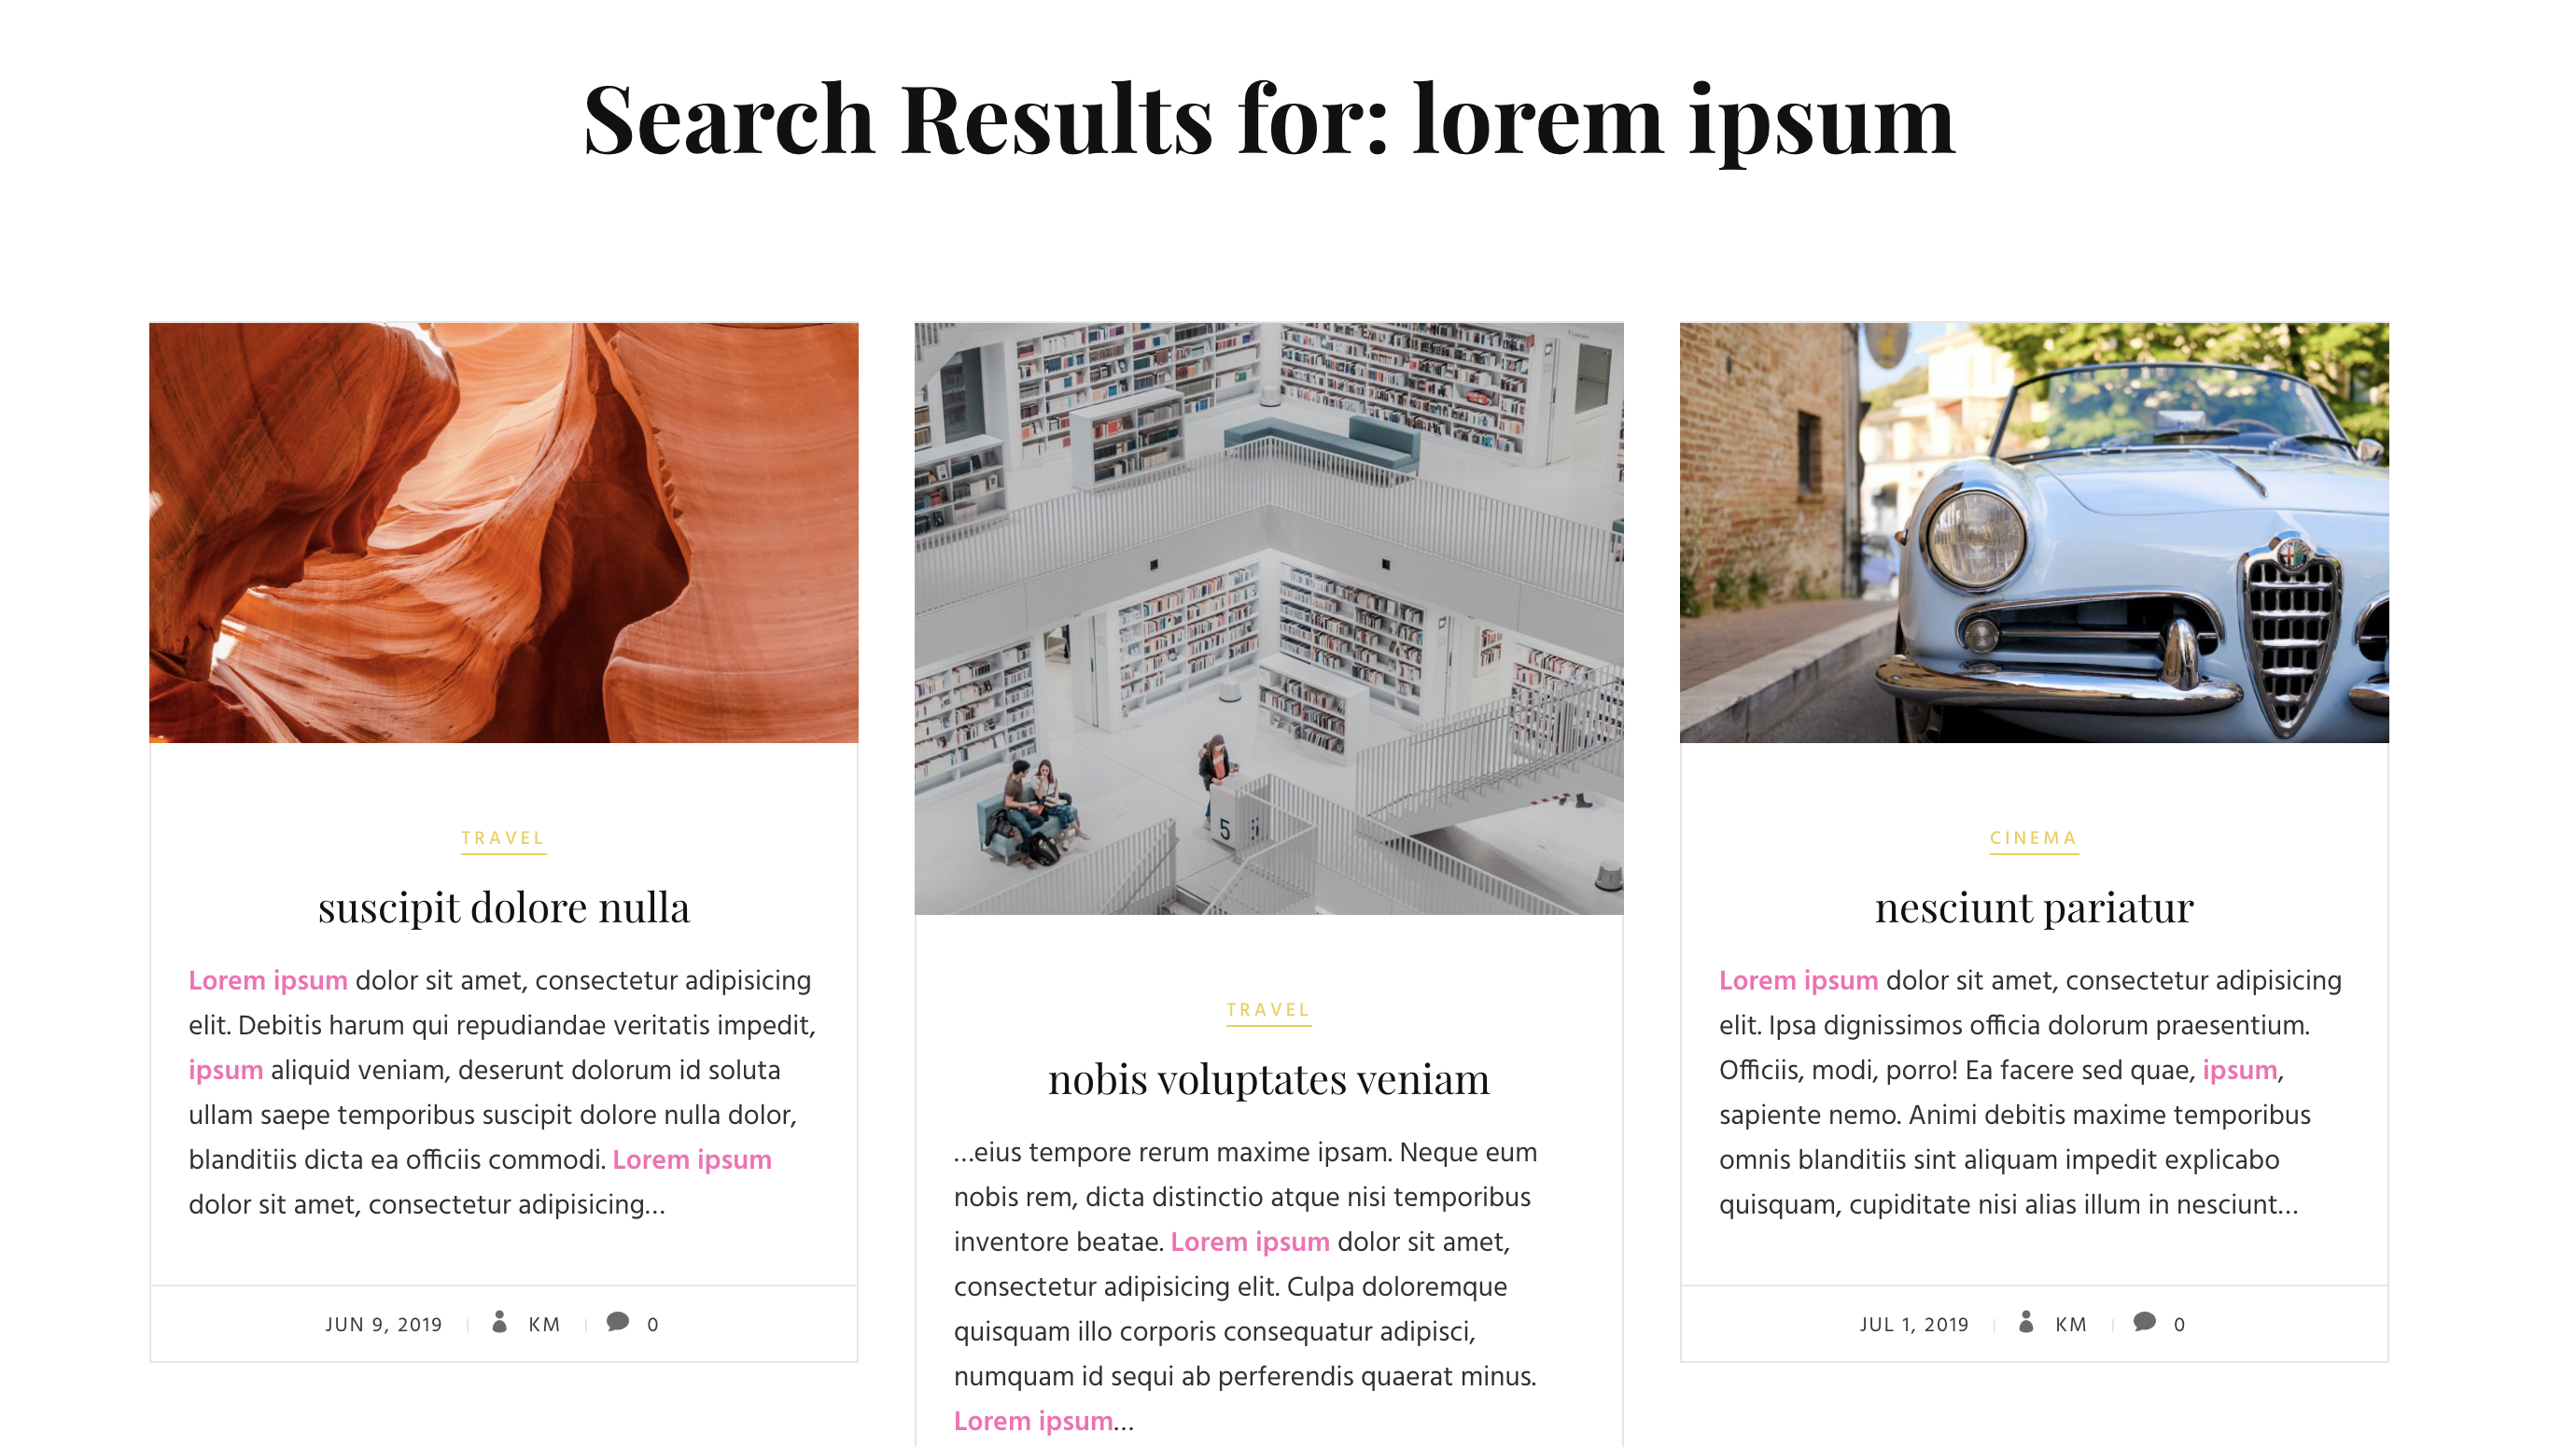
Configure the Relevansi plugin so that any WordPress search results show:
- the feature image,
- an excerpt of 40 words, and
- all instances of the search term in hotpink (see screenshot below).
(With these posts, you can test by searching for the word lorem or the phrase lorem ipsum, for instance.)
Make sure that posts from the television category are never included in search results.
Additional CSS Modifications
Change Search Appearance (5 points)
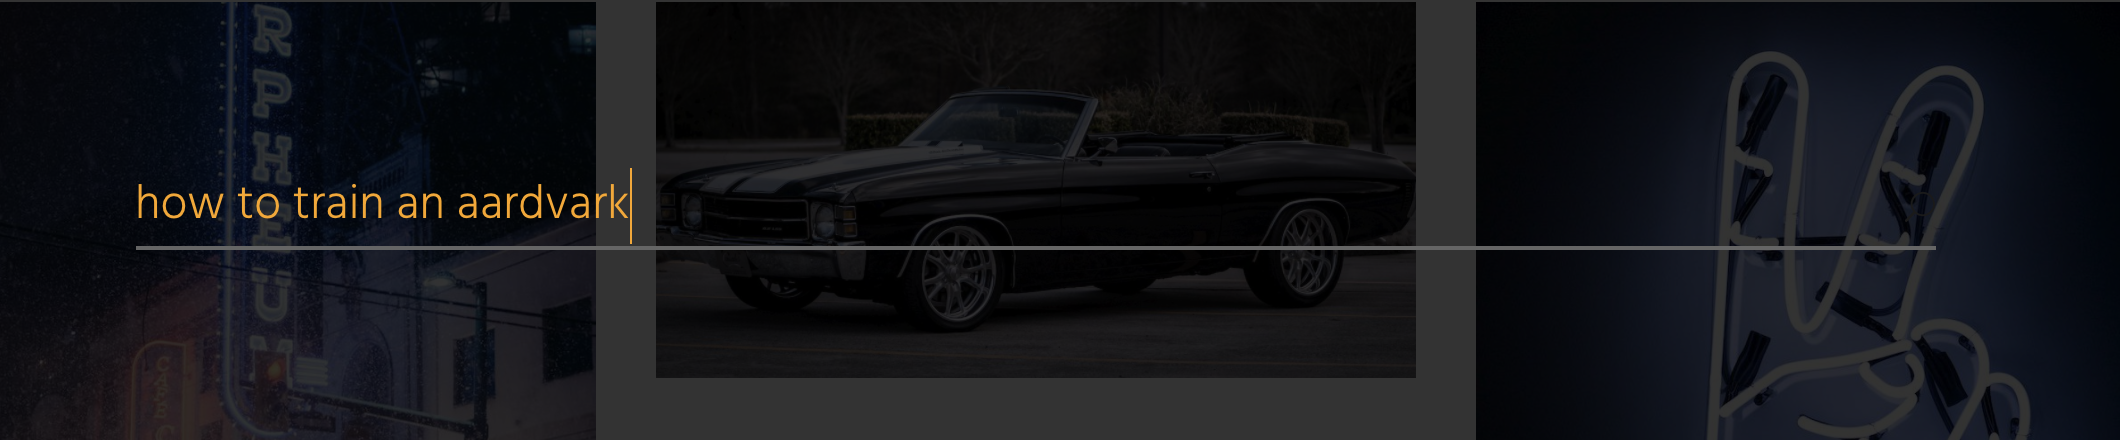
When a user clicks on the search icon, a white screen slides down, with the search field in the middle.
Change that screen so that:
- the background is black, but slightly transparent, so we can see the content behind, but without harming the legibility of the search text,
- the search text the user types is orange.
Footer Tweaks: 10 marks
When the page is over 1000px wide, make the footer elements arrange like this:

Specifically:
- make the three elements (social menu, logo, copyright notice) align perfectly at the center
- make the font-size of the copyright notice the same size as the social menu links
- make the logo sit between them
BONUS SECTION
If this is a test, you don’t have to do this section, but if you do you can make 10 bonus marks to make up for anything you might have missed.
In other words, if this is a test and you don’t do the bonus section, you will not lose marks.
If this is not a test, you must do this section (and it’s not a bonus).
Avatar Colors: 10 marks
The post entitled dicta quae perferendis, has some comments submitted by the site’s loyal public.
You can see those comments after the post content when in single view (ie seeing the full post on its own).
Now, make all comment section avatars (author images) gray, except for any comments posted by the author of the post. You can make an image greyscale with the css FILTER: GRAYSCALE() function.
Make sure that you don’t make the AUTHOR BIO picture greyscale. In the screenshot below, the AUTHOR BIO picture is the one above the 3 replies to “dicta quae perferendis” text.
The last comment was made by the author of the post (me). Notice that with that comment, the author bio image and the author comment image is still in color, while the others are grey.
When You Are Done
Please use Duplicator to make a new package of the site.
Do not do this in Safari, as it will automatically unzip the archive when it is downloaded (unless you change a setting in Preferences).
Before downloading the files, please empty your downloads directory on your computer: putting all the files there into a subfolder is fine. I am asking you to do this so that you don’t accidentally hand in the wrong file.
Make sure that you do not rename the zip file that Duplicator makes. That will break the installation.
Put the installer and the archive into a folder called blogberg-firstname-lastname. Now ZIP that folder.
If you’re a Langara student, hand it into our Brightspace course folder.
If you’re an Emily Carr Student, hand that zip file into our course Moodle Shell.