One way to get used to the WordPress Template Hierarchy and Template tags is to download a “starter” theme and bend it to your will.
Download A Starter Theme
For this exercise, we’ll do just that. First go to html5reset.org and download the html5reset WordPress theme.
Once you’ve downloaded it, put it in wp-content in a test WordPress environment. If you need to review setting up a test environment with MAMP, go here for that.
Because the name of the folder isn’t particularly memorable once unpacked, rename it to html5reset (or anything else. Use lower case, with no spaces or funny characters).
Download Some Sample Content
Download some sample content from here. This will download for you a zip archive of a folder called JazzIconsFiles. Inside that folder are
- A folder of images
- A folder of WordPress snippets
- A site backup file: jazzicons.wordpress.2012-12-02.xml
(that name may change in future, though…)
For other projects, you can download sample content from a number of places, such as WPCandy.com. Just google it.
Import The Content
Login to your testing install of WordPress. In your Dashboard, go Tools < Import. Install the importer if prompted. Install the sample content. When prompted, don’t import the user kevinmc. Just assign all posts to yourself.
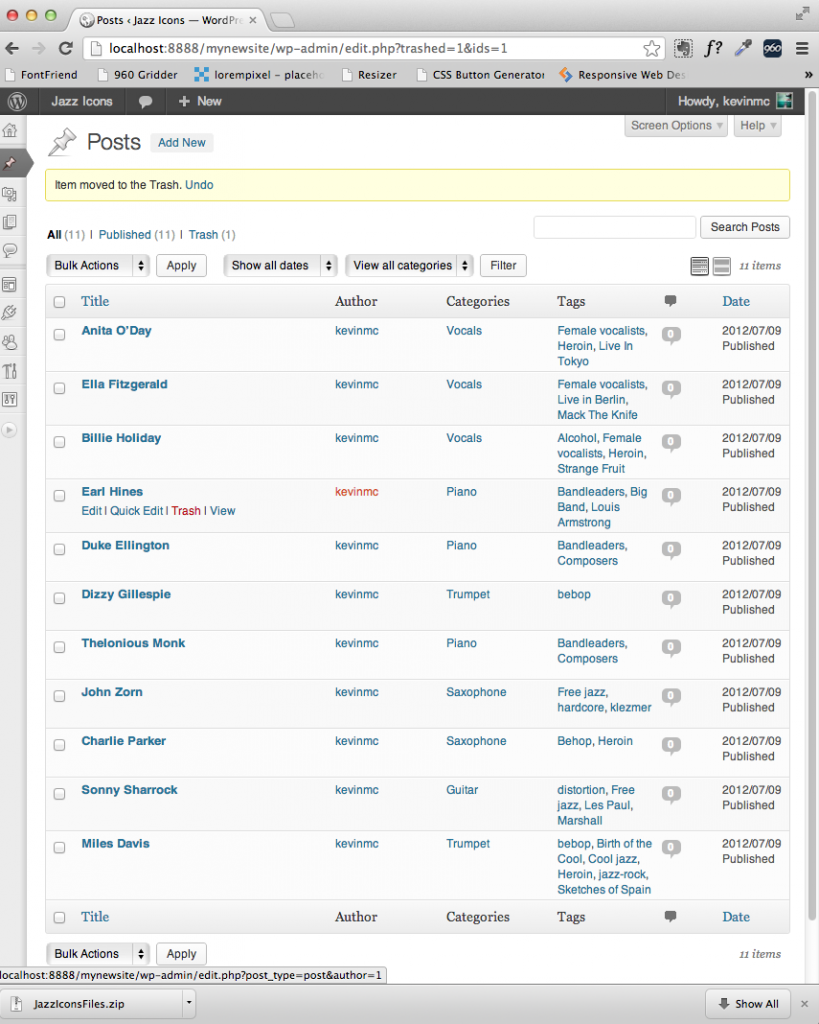
Once this is done, go Posts < All Posts. You should now see a bunch of posts on famous jazz musicians. Forgive the shoddy proofreading: they’re taken from wikipedia and given a very cursory edit.
Compare Themes
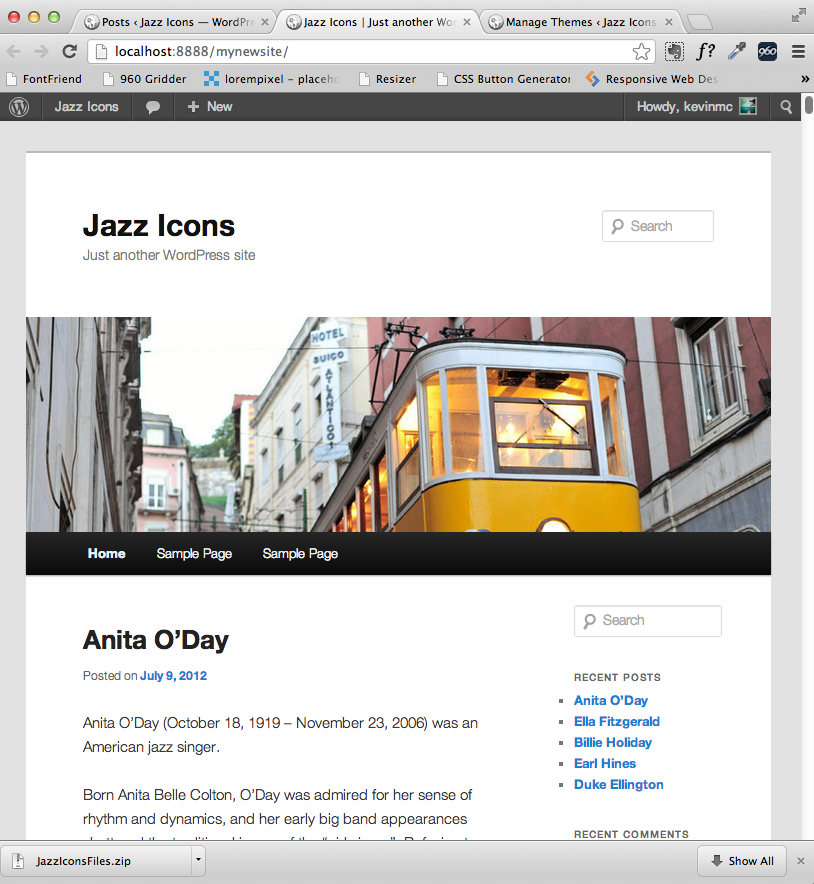
Visit the front page of your site. Here we see the site in the default twentyeleven theme (actually, since I wrote this twentytwelve has come out. Oh well.)
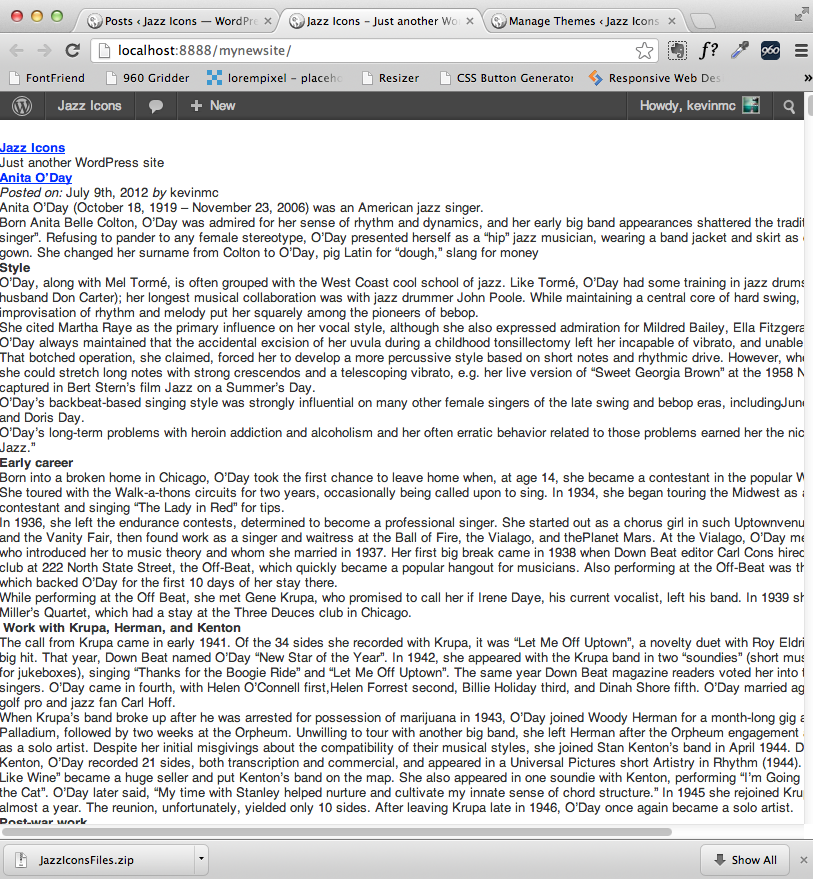
Switch to the html5reset theme.
Pretty, isn’t it? OK, perhaps not.
What’s happening with this theme, though, becomes apparent if we poke through its style.css file.
First of all you’ll see that it incorporates a famous and ever-evolving CSS technique: the CSS reset. This sets a wide range of CSS properties to what looks like unstyledness, but is actually heavily styled in order to remove browser defaults, inconsistencies, etc.
Make This Theme Your Own: style.css
First of all, change the name of the theme in the stylesheet, change the author(s) to you, and modify the descriptions and URLs.
Now scroll down to about line 227, just after then WP Comment styles. Put in a CSS comment block to delineate your own styles. We put these AFTER the CSS reset styles because we’re building on top of them. If we put our styles before them, the CSS reset styles would overrule ours.
/* My Styles
—————————————————————–*/
Try a simple style, something on the body, perhaps:
body {
font-family: geneva, “times new roman”, serif;
color: red;
}
Do anything. Just see if your styles are working.
==============
Now that you know the styles are working, let’s look into the WordPress Template Hierarchy. If you look into the html5reset theme folder (inside your test site: wp-content/themes), you will notice a number of files, most of which end with .php.
These php files control how your site works.
If you think about it, a typical site has a lot of repeated content. For example, the header will typically remain the same on every page of your site, as will the footer, and (possibly) the sidebar.
In a conventional static site, these areas of the site would be repeated in every HTML page. In contrast, WordPress and other content management systems will break this basic structure up into multiple files.
This saves a ton of labor.
Programmers, in other words, are lazy. They always find a way to do encapsulate what they do, so that they have to do it exactly (only) once. Designers need to learn from them.
With that idea in mind, look inside the theme folder: you will see files like header.php, footer.php, and sidebar.php. As you have no doubt guessed by now, WordPress lets you author sections once and then include them in other files.
Open up the file index.php.
Note the following lines of code:
<?php get_header(); ?>
<?php get_sidebar(); ?>
<?php get_footer(); ?>
What’s happening here? In index.php (and a bunch of others), calls are made to include the external files. This means that the html files your adoring audience reads are constructed on the fly, which in turn (more practically) means that you can edit the contents of the header, footer, and sidebar php files and then have those edits show up throughout your entire site.
Try it. Open up the file header.php.
Go to the last line in the file. Add the following HTML:
<h3>Great Men and Women of Jazz</h3>
Now save that file. Reload your home page.
You will now note that your new H3 content appears at the top of your page. Moreover, when you click on the title of the first post (in this case, Anita O’Day), that new addition to your header.php file appears on that page.
If you check, you will find that that addition will now appear at the top of every full post (which you go to by clicking on the post title on your home page).
If you want, move that newly added H3 inside the <header> tag of your header.php file.
You now know how to build your header. All the content you put in here is, of course, accessible for styling via your style.css file.
Take it a step further: add some HTML to your footer.php file and then test the results.
For example, let’s add the following code just inside the HTML5 <footer> element inside footer.php.
<blockquote>Jazz is not dead. It just smells funny.
<small>-Frank Zappa</small>
</blockquote>
Test it. Go to the front page of your site and then scroll to the bottom. Click on a few of the recent posts listed near the bottom of that page. Our newly-added Zappaism is now on the bottom on all pages and posts of our website.
In other words, we’re added a mantra for our site—to every damn page and post. How cool is that? We have yet to even break a sweat.
So we’ve figured out how the main parts of the WordPress site model are broken down. Time for some outside learning. Peruse the two links below.
For Review
THE BASIC THEME ANATOMY MODEL
https://wp.tutsplus.com/articles/wordpress-cheat-sheets-theme-anatomy-model/
TEMPLATE HIERARCHY MODEL
https://wp.tutsplus.com/articles/wordpress-cheat-sheets-template-heirarchy-map/
Continuing Into The WordPress Template Hierarchy
Duplicate the file index.php and save it as home.php.
We are doing this because the index.php file is basically the last resort for theme display. As the second link above outlines, if we have a more specific template file, WordPress will use that.
So, if we have a home.php file, WordPress will use that for the home page. If we have a single.php file, WordPress will use that for full-post displays. Otherwise, it will use index.php.
Because we want our home page and full post pages to look different, we will use different templates for this different content.
A Quick Detour Into The Dashboard
Go into the dashboard of your site, choose Posts < All Posts and open up any post for editing.
I’ve put in some excerpts for each of our posts.
You may not see the excerpts right away, however. If you don’t see them, typically right underneath the post editing window, go to the top right of the screen, click on Screen Options and choose Excerpt.
What you see here is a hand-crafted summary of each particular post.
Now we will figure out how to pull the excerpts out of the database and display them on the front page of the site.
Introducing The Loop
Open your newly-created home.php file in a text editor. You are about to learn about the most important thing in WordPress: the loop.
Examine the code. Note this line:
<?php if (have_posts()) : while (have_posts()) : the_post(); ?>
This opaque-seeming line starts the loop. Translated into layman’s English, it means
if you have posts, spit them out, one after another.
Despite the incredibly earnest italic and bold treatment, that probably doesn’t help figure out what’s happening here. So let’s dig a little deeper. Go into the loop.
In line 12, you will find this line
<?php the_content(); ?>
While you are finding your way around the way of WordPress, your best friend is the comment tag.
Comment out that line, with HTML comments:
<!–
<?php the_content(); ?>
–>
In other words, we’re trying to make this tag disappear, without removing it, in case we need it later.
Now test your home page. What do you see now?
A list of page titles, with link links to the full posts.
Our First WordPress Template Tag
Copy the <?php the_content(); ?> line.
Paste it just before the close of its enclosing DIV. In this newly copied chunk, change the word content to excerpt. This is what that part of the home.php template file should now look like:
<div class=”entry”>
<!–
<?php the_content(); ?>
–>
<?php the_excerpt(); ?>
</div>
To reiterate: we’ve commented out the_content() and put in a call to the_excerpt().
Now test your home page. You should now see something more suitable to a home page: a listing of post summaries.
Click on any post title. This will take you to a full listing of the particular post.
At this point, we’ve styled practically nothing. However, we have made a dynamically-generated website. This is a significant achievement.
===================
What’s Next?
Well, we need some menus. To learn how to put in a couple menus, go here.
Some featured images / thumbnails with each post would be nice. To learn how to set these up, go here.
How about custom backgrounds and custom headers? Go here for that.


