In the following exercise, you will explore the following areas.
- css blend modes
- css variables (also known as custom properties)
- advanced form styling
- transitions
- javascript change event
- javascript input event
- changing css properties (including custom properties) with javascript
- arrow functions, traditional functions
- custom folder elements, custom form styling
- object-fit
- container queries
- srcset attribute (responsible responsive design)
- sizes attribute (responsible responsive design)
- visual studio selection efficiencies
- batch processing of images with XnConvert
In the project, you will make a CSS Blend Modes Tester: a tool that will allow you to investigate the visual effects that can be created using CSS Blend Modes, which are very much like the Blend Modes you might know from using Photoshop.
The Exercise
In this exercise, you will make the project described here: exercise description video.
First, please download the starter content. When you unzip it, you’ll see a folder called images, inside of which is another folder called originals-from-unsplash.
There are an additional three folders inside the images folder named 2560, 1600, 900, and 600. As part of the Loom video series, you will use XNConvert software to automate the creation of new image widths corresponding to these folder names.
Make a new folder. Call it YourName-BlendModesTester, then open it as a new project in Visual Studio Code. Put the downloaded images folder inside your project folder.
Make three files: index.html, style.css, and main.js.
Now, to create this layout, click the screenshot below. This will take you to Loom.com. Please follow along with the video series found there:
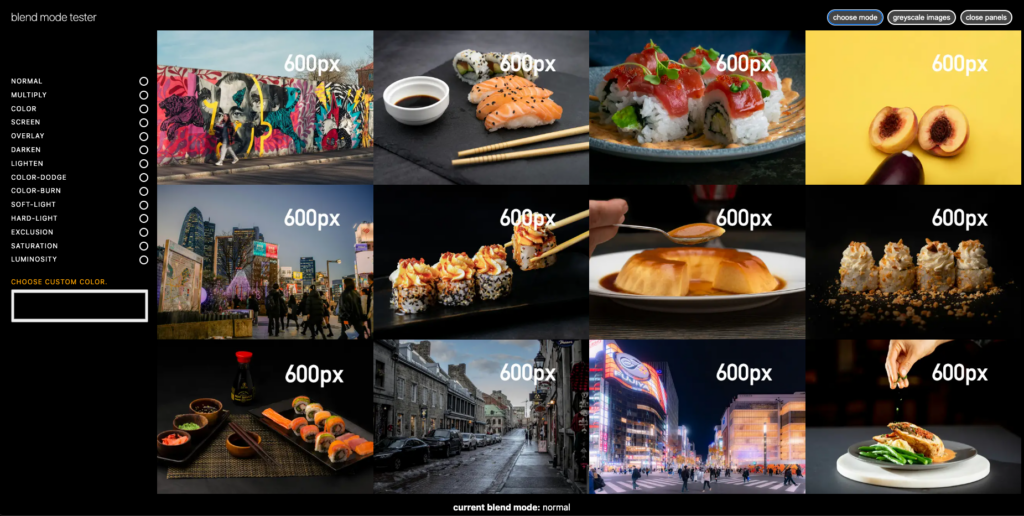
Here, we see the images with a Normal blend mode.
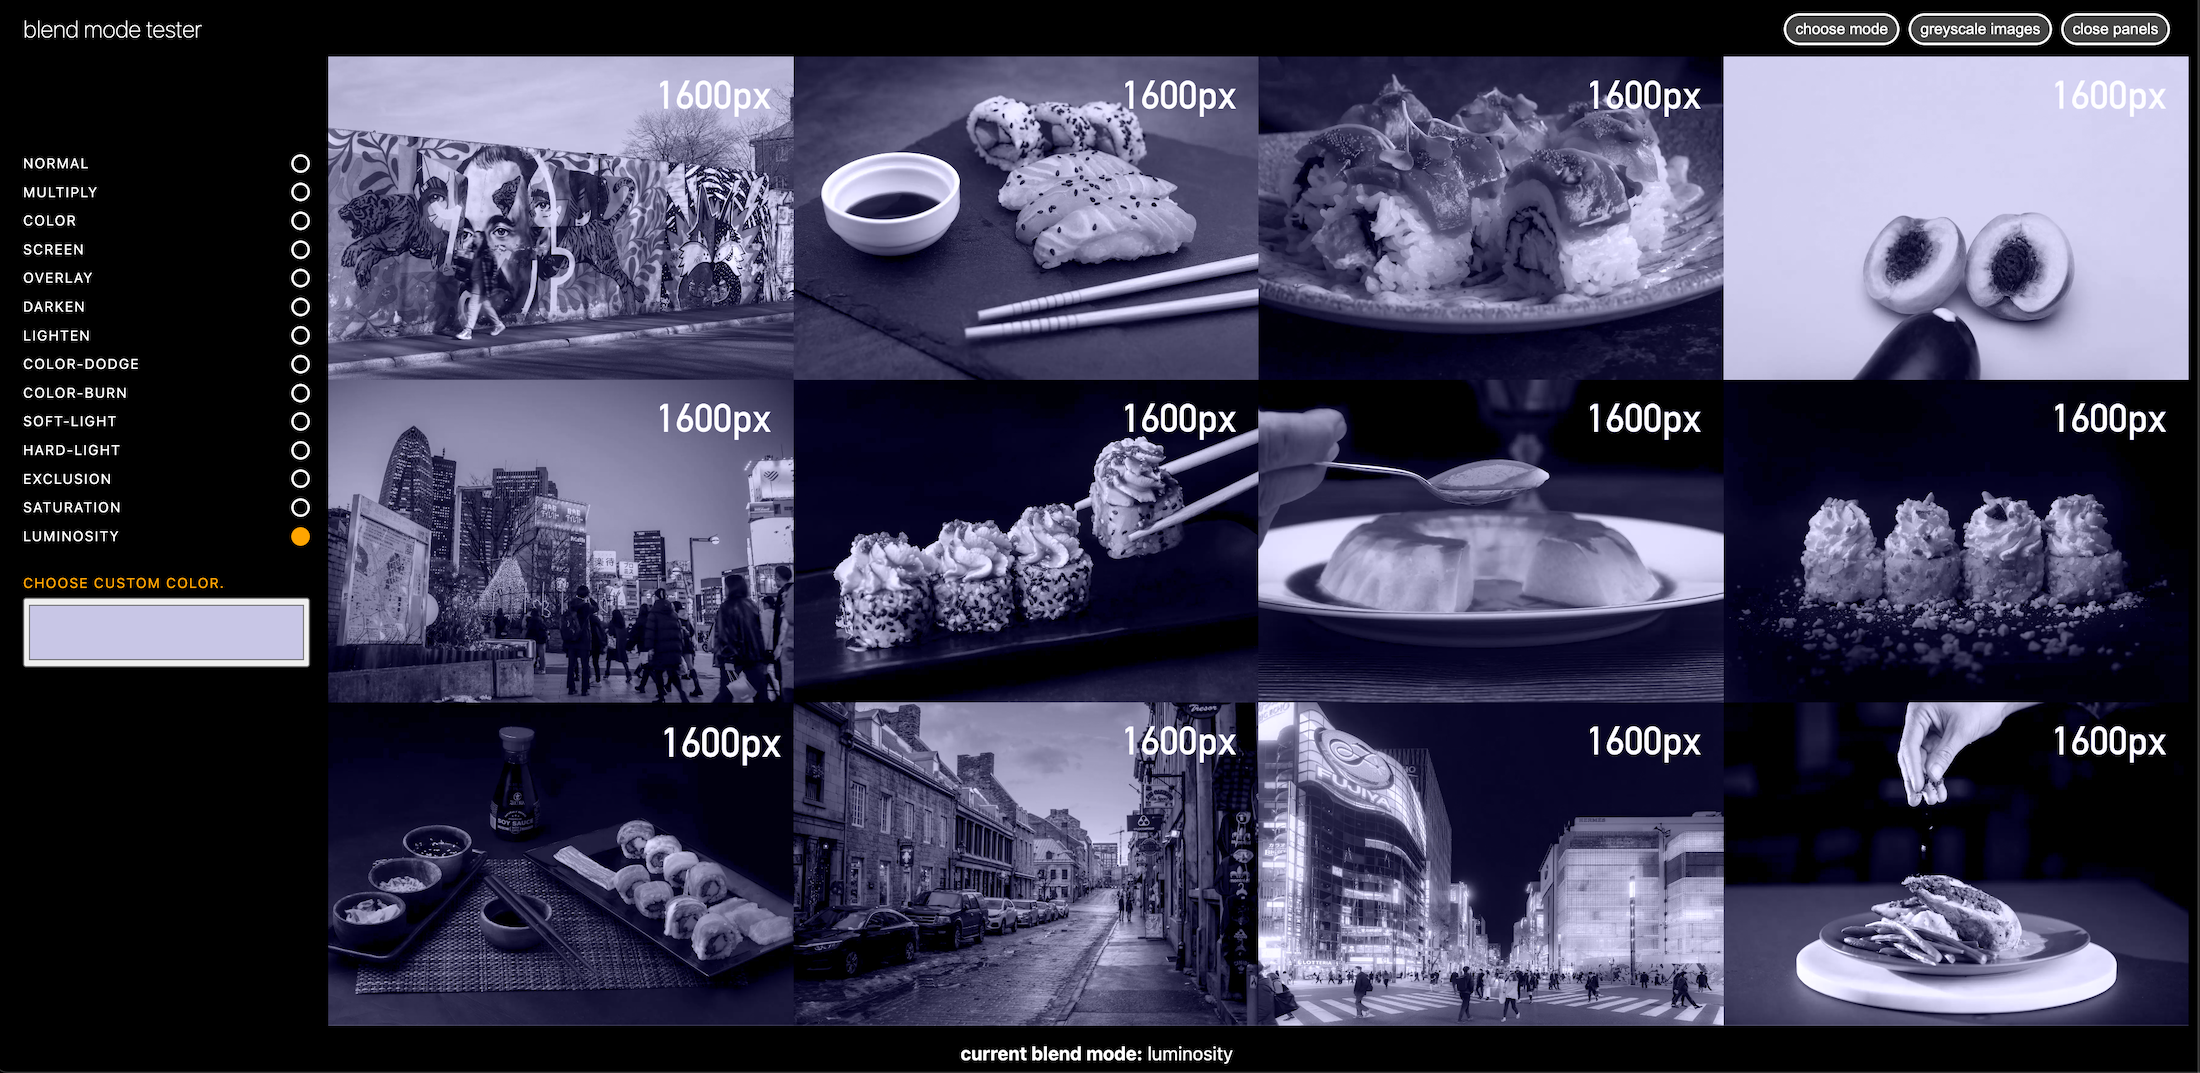
Here, we see them with the Luminosity blend mode.
In one video, I ask you to copy this list of blend modes:
- Normal
- Multiply
- Color
- Screen
- Overlay
- Darken
- Lighten
- Color-Dodge
- Color-Burn
- Soft-Light
- Hard-Light
- Exclusion
- Saturation
- Luminosity
When you are done, zip up your project folder (making sure you named it as described at the start of this exercise), then hand it in to Brightspace.