Download the Files
First, please download these files.
When you unzip the files, you will see inside the folder, a file called guitarmania.wordpress.2013-07-11.xml and a folder of images.
Make a new WordPress site in a testing environment like MAMP. For the folder name, use obsessive-compulsive-guitarist.
Use your own name as the admin user and password. For all my lab exercises, in fact, use that name and password combination: that way, we won’t be slowed down by forgotten passwords or ids.
Do this only in a testing environment, NOT ON A LIVE SITE, for obvious reasons, though.
Import Sample Content
First, we will import the database content I want you to use. It’s in the xml file in the files you downloaded.
One way to import content in WordPress is to use the WordPress Importer ( Tools < Import < WordPress ). If you’ve never used the WordPress Importer plugin before in a particular site, WordPress will prompt you to install it.
If You’re Using a Langara Mac…
Normally, this is quick seamless process, but in the Langara labs, direct downloads through WordPress are blocked by the network proxy server.
If you are using a Langara lab computer, there are two workarounds.
- edit the WordPress configuration file wp-config.ph: instructions are here
or install the plugin manually. Instructions below:
- Go to the WordPress plugins repository on the web: https://en-ca.wordpress.org/plugins/
- Search for, and then download, the WordPress Importer
- Unzip the downloaded file and copy it to MAMP/htdocs/your_site/wp-content/plugins
- In the Plugins section of the WordPress Dashboard Activate the WordPress Importer
If You’re Using Your Own Computer
If you’re using your own computer, you don’t need to use the above workaround. Instead, import the sample content in the XML file ( Tools > Import ).
In that process, make sure that Download and import file attachments is not selected.
If the site were live, clicking that button would download all the images and other media in the live site to your new site (whether that’s a development one or a live one).
However, since I exported the database content from a site in a development environment (ie on MAMP) on my own computer, there’s no way for you to download the images from my computer.
When prompted, assign the content to the user you made (you) when you set up this WordPress installation.
You might still get a message that WordPress failed to import the media: that’s OK. Go to the Posts area of the Dashboard and make sure that you successfully imported the nine posts in the XML file I gave you.
Finally, delete the default “Hello World” post.
Convert to Block Formats
The content you have just imported was written with the Classic editor. However, since WordPress 5 came out in December 2018, WordPress has used the new Gutenberg editor as default.
With legacy content like this, when you open a post, you will see the word classic at the top of the main editing area:
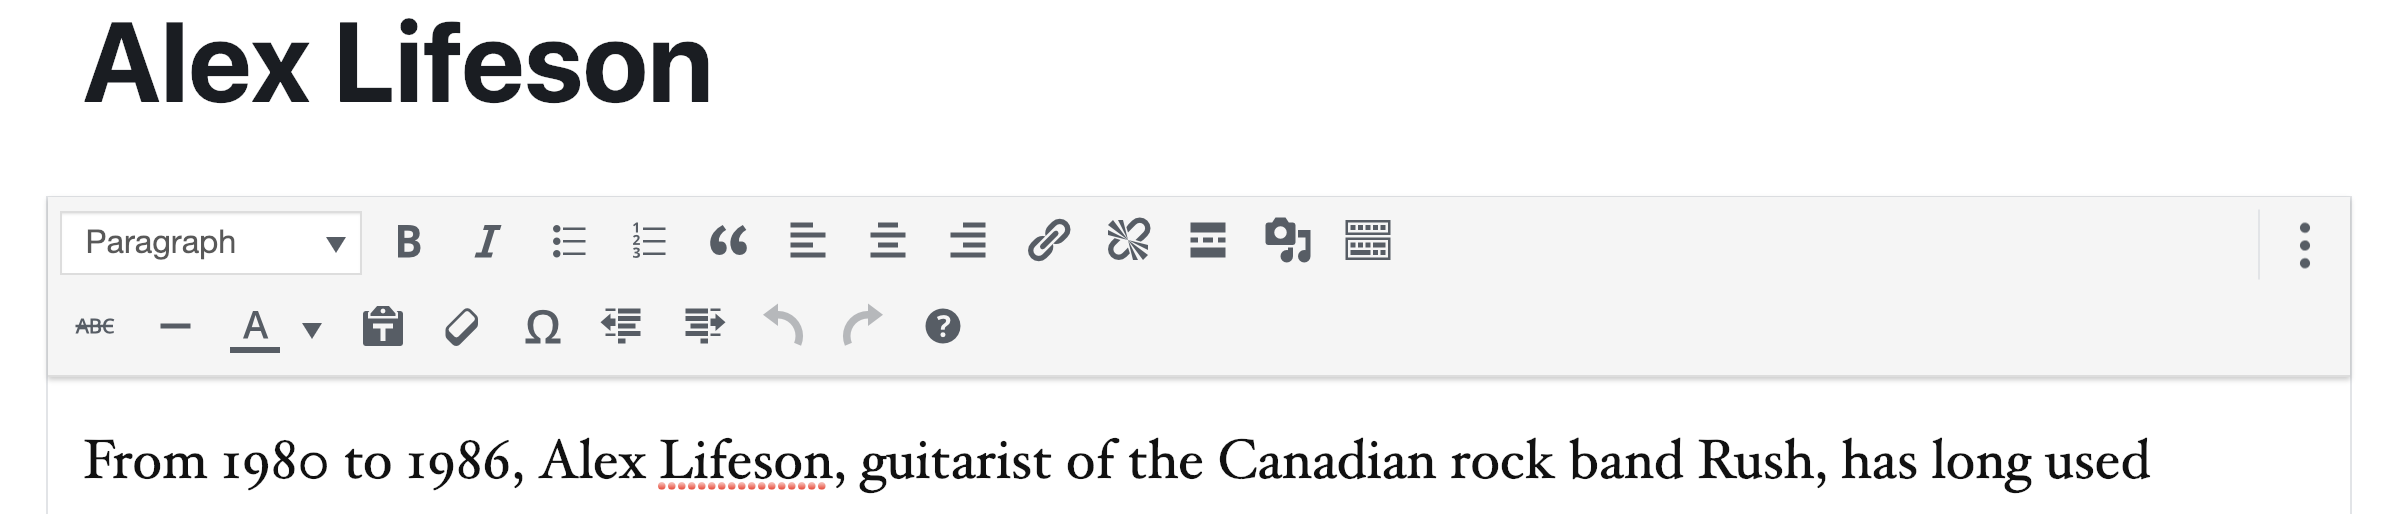
Once you click in that text content, you will see the traditional word-processor-style controls of the classic editor:
In other words, legacy content like this is not automatically converted to blocks (other than to a “classic block”). You can in fact edit classic block content this way if you want—and you can even install a classic editor plugin if you don’t want to use Gutenberg at all.
However, since we’ve just started learning WordPress, let’s convert the classic block to Gutenberg blocks so that we’re not using two different interfaces simultaneously.
Do this by clicking on the three dots on the far right of the Classic controls area and then choosing Convert to blocks.
Do that with all the posts in this exercise.
Incidentally, if you have a lot of legacy content on a site, you could definitely keep the old content in Classic format, and then decide to make new content Block or Classic format.
Note from April 2020: there’s now a bulk block converter plugin. We’ll use it in a later exercise. For now, convert manually, as described above.
Feature Images
Now we will add feature images to all the posts.
- First, in the Dashboard, go to Media < Add New. From the downloaded files, import all the images into your media library.
- In the Posts area of the Dashboard, delete the Hello World post (it’s included in every new WordPress installation).
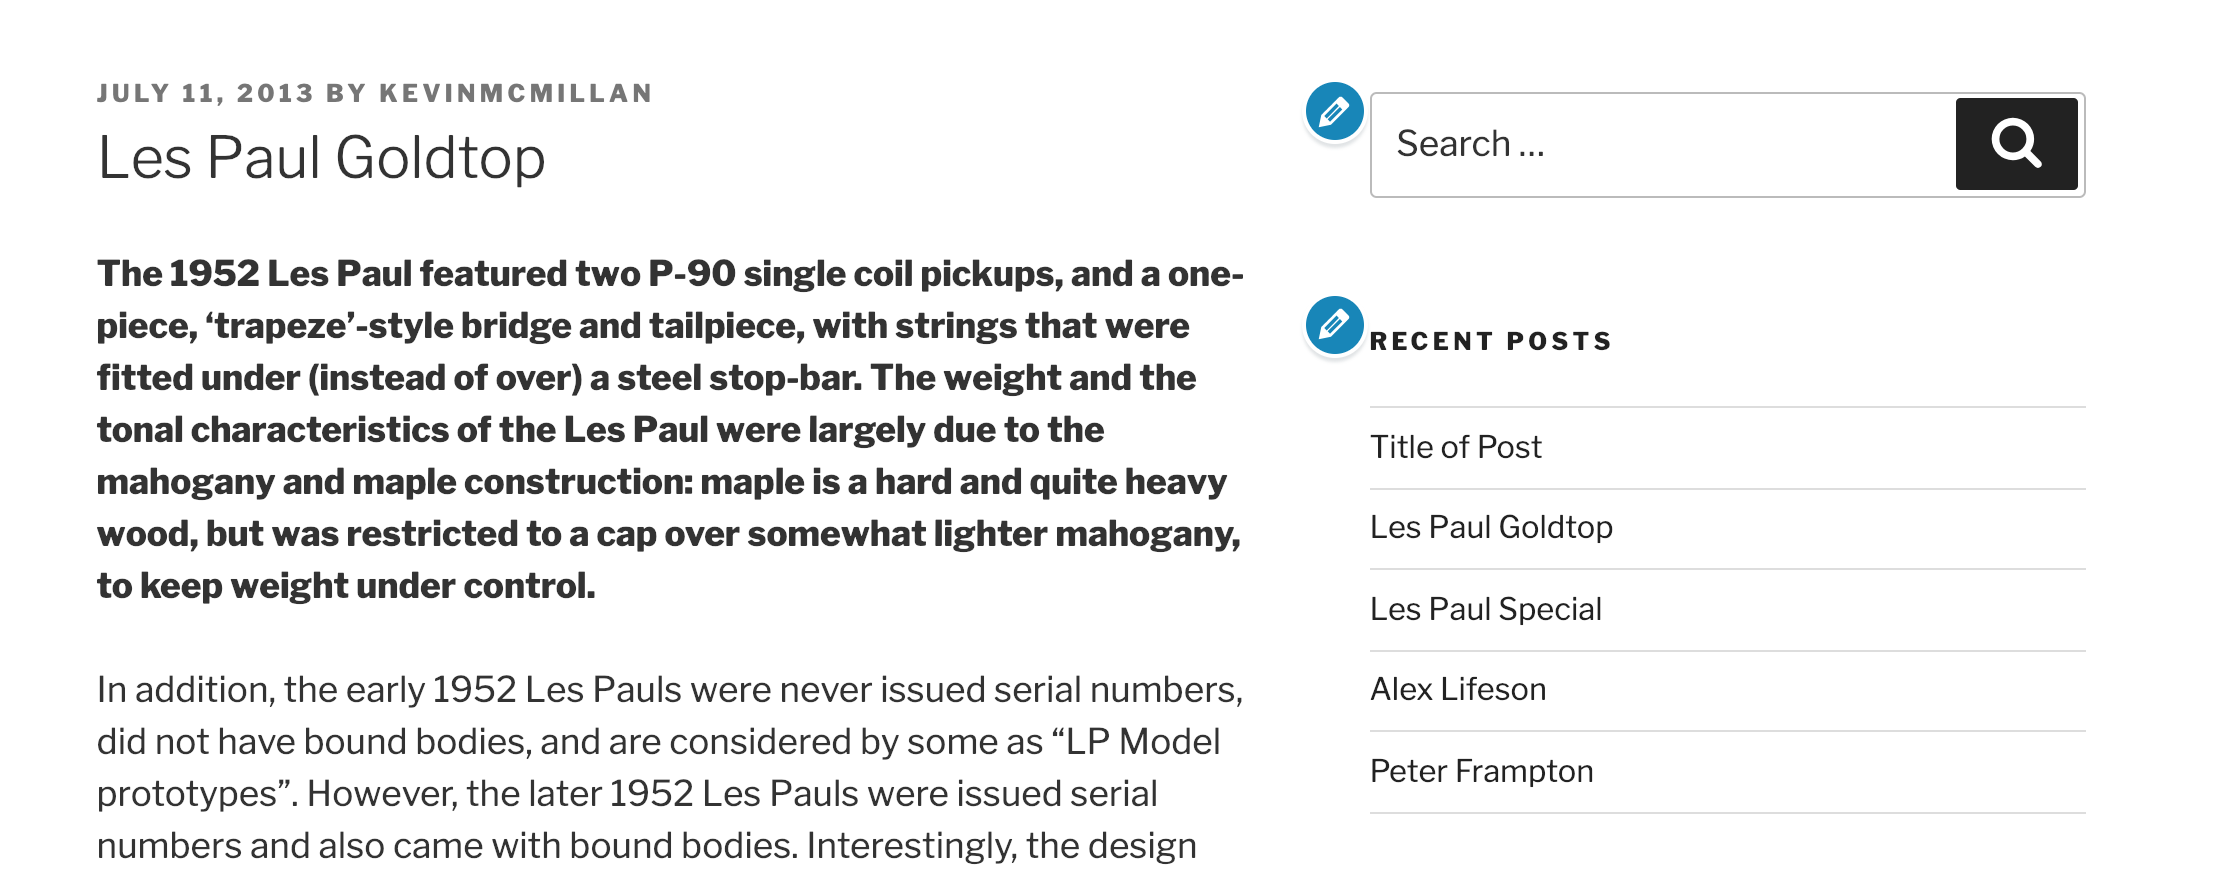
- Open the first guitar-related post, Les Paul Goldtop, by mousing over the title and choosing edit.
- In the Document part of the right-hand sidebar area, open the Feature Image box.
- Click Set featured image. Choose an image from the media library that matches the title of the post you’re editing: the image title will be on the right hand side of the Media Library pane.
- Make sure that you give the feature image an ALT attribute value that matches the title of post.
- Now open the other posts in browser tabs by command-clicking or right-clicking the Edit links in the Posts area.
- Give each post a feature image. Make that each has an appropriate alt information (taken from the post title).
- Don’t forget to click update once you’ve added the feature image to each post.
Once you’ve done that, go to the front page of the site. In most WordPress themes, the feature image appears near the top of each post in the home page feed (and at the top of each single post view).
Teaser Text
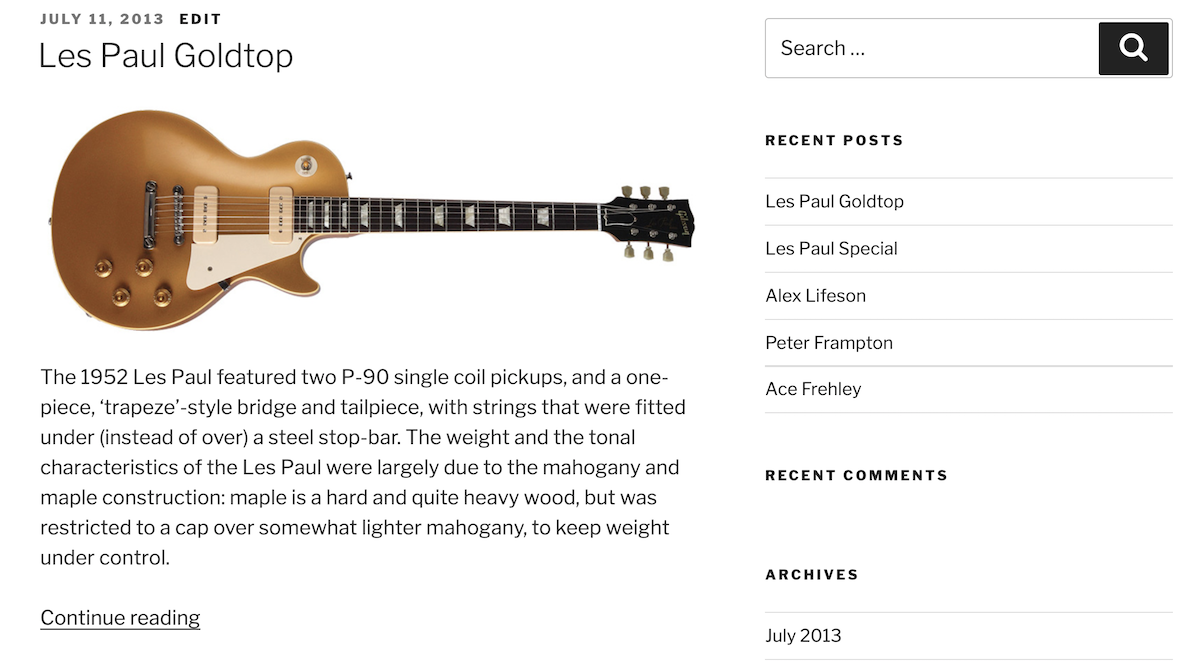
Make the necessary changes to the posts so that on the front page, we see only the title, feature image, and first paragraph of each post, followed by a Continue reading or read more link.
(The screenshot below is from another theme, but I’m sure you get the idea anyway…)
Try to use keyboard shortcuts to insert that “more” block, and a keyboard shortcut to update the post.
Tag the Content
Make tags “one pickup”, “two pickup”, and “three pickup”. Assign them to the relevant guitars:
- One pickup: both Les Paul Jr posts
- Two pickups: Les Paul Goldtop, Les Paul Special, Alex Lifeson, Les Paul Custom, Les Paul Standard
- Three pickups: Ace Frehley, Peter Frampton
To cut down on repetition, make sure that you do this using WordPress’s Bulk Edit functionality.
Change to a Different Theme
The default theme as of this writing is called Twenty Twenty. For this exercise, change to the Twenty Seventeen theme.
You can do that in Appearance < Themes.
Menus
There are two menus in the data you imported earlier: we will use one of them, and then make a new one, also. First, activate Main Menu by setting a Display Location for it in Appearance < Menus.
Make a new menu called Social Menu. In it, put a link to Facebook, one to Twitter, one to Instagram, and one to Pinterest.
For the purposes of the exercise, use the URLs of the front pages of those sites: normally, you would of course make the link to a Facebook page or group, etc.
Assign that menu to the Social Links Menu menu location.
Finally, remove the Artist Models List link from the main menu, then make the History link display as Gibson History and make it appear as the last item on the main menu.
Customize the Home Page
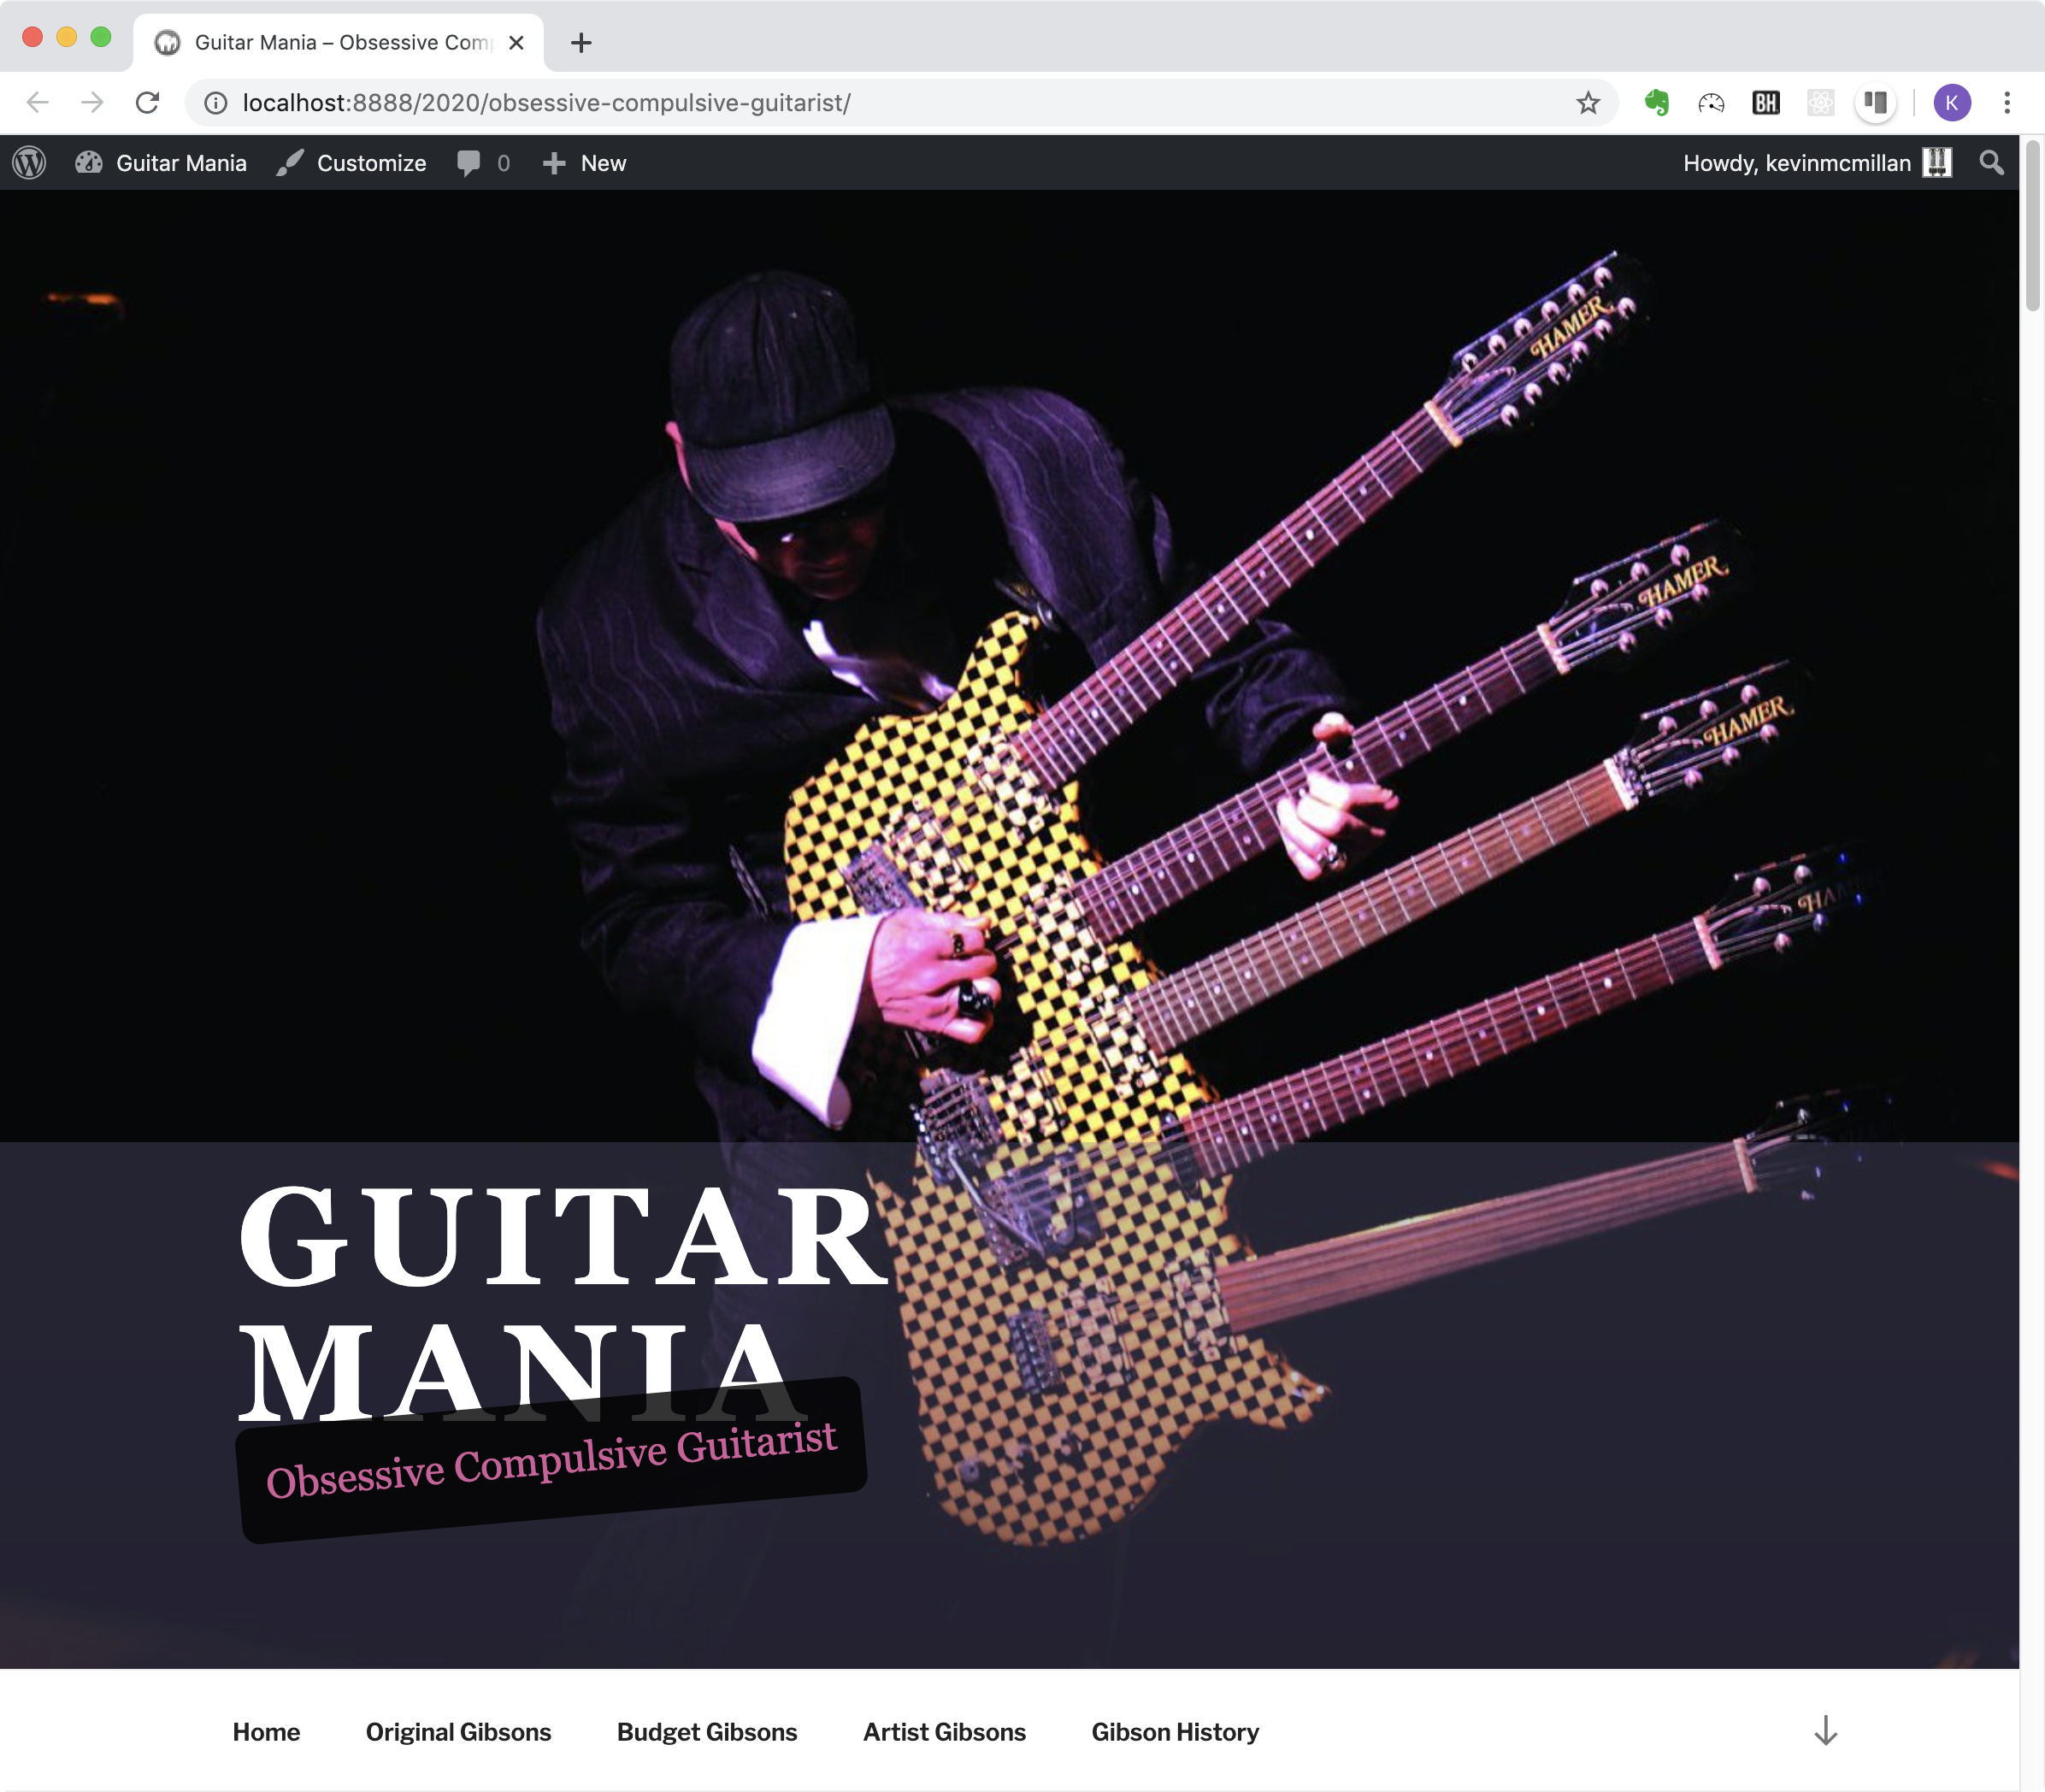
Among the images you imported earlier is an image called obsessive-guitarist-5-neck-hamer.jpg. (It’s the only image with a dark background).
Figure out how to add that image to front of your site. While doing that, crop approximately 100px off the top of the image. Watch that you do not chop off the performer’s head. Performers don’t like that.
Additional Customizations
For the following changes, you will not need to install any plugins.
Change the site name to Guitar Mania and the Site Description to Obsessive Compulsive Guitarist.
Remove Recent Comments from the Sidebar.
In the WordPress customizer is a place you can upload a favicon and home screen icon for phones. Find that area and use the instructions about size that you will find there to make an image in Illustrator (or other graphics program) that will work as a reasonable favicon and home screen icon.
If you look at one of the posts in single (full) view, you will notice that to the left and right of the feature image, the background is a very light grey. Make that pure white.
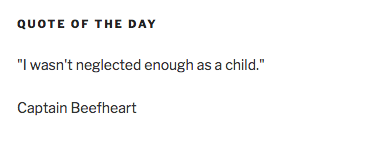
Figure out how to put a quote on the bottom of all web pages of the site (like in the image below). NOTE: do not try to edit any part of the WordPress theme code (ie don’t use Appearance < Theme Editor).
Then figure out how to change the font, font-size, and background color of the site name and tagline—like in the image below—but limit these changes to occur only above 600px screen width. Do this by using the Chrome Inspector on your site to find the CSS changes you need. (Click for a bigger view).
To make that task easier, duplicate the URL and use the Inspector in another window from the window you are writing the CSS in. The customizer itself adds a lot of code, which will be a distraction from the task.
Do not install more plugins. Instead, add CSS changes to your site using the CSS panel in Appearance < Customize.
Put a translucent blue screen behind the site name and description (as in the screenshot). Make sure that it extends all the way across the page.
Make the site title and description typography as close as possible to that in the screenshot.
Finally, try to figure out the CSS to make all first paragraphs of the main text area bold—but only when the posts are viewed as full — hint, single — posts (ie not on the front page).
If we’re doing this on-campus, show your site to me or the class Teaching Assistant (if we have one) when you’re done.
If this is an online Emily Carr class, show me the site next class.
If this is an online Langara class, use Firefox Developer Edition to take the following full-page screenshots:
- the home page at full width
- the home page under 600px width (ie at its narrowest width)
- the full view of the Les Paul Goldtop post
In Firefox Developer Edition, you right-click to take a screenshot. Do not use Chrome to take these screenshots: its full-page screenshot utility has a number of bugs that will mean that your content is not accurately depicted.
Finally, if you are a Langara student, put the files in a folder titled OCG-YourName and then hand that folder in to the course hand in folder on studentshare (or online via myfiles.langara.ca).
If the folder is not named correctly, the exercise will not be marked.