This exercise will demonstrate a number of important WordPress features, including
- the WordPress template hierarchy
- common template tags
- the loop
- conditions in WordPress
- get_template_part
We will take a simplified approach, in order to get the broadest sense of how WordPress themes work and not get bogged down in too many details.
Some Sample Content
First of all, please download this zip archive. When you unpack the ZIP file, you will find a Duplicator installer and archive combination, and a single screenshot file.
Rename the folder holding the installer and archive to iwillmakeatheme and put it in your MAMP htdocs folder.
Then start up MAMP and make a new database called iwillmakeatheme.
Go to the root level of your local server (localhost:8888 on Mac), click the iwillmakeatheme folder and then run the Duplicator installer.
As part of the installation process (step two or three), create a new ADMIN account with your name as the user and password (for ease of recollection. This is just a lab exercise, so we are not worried about a site being hacked here).
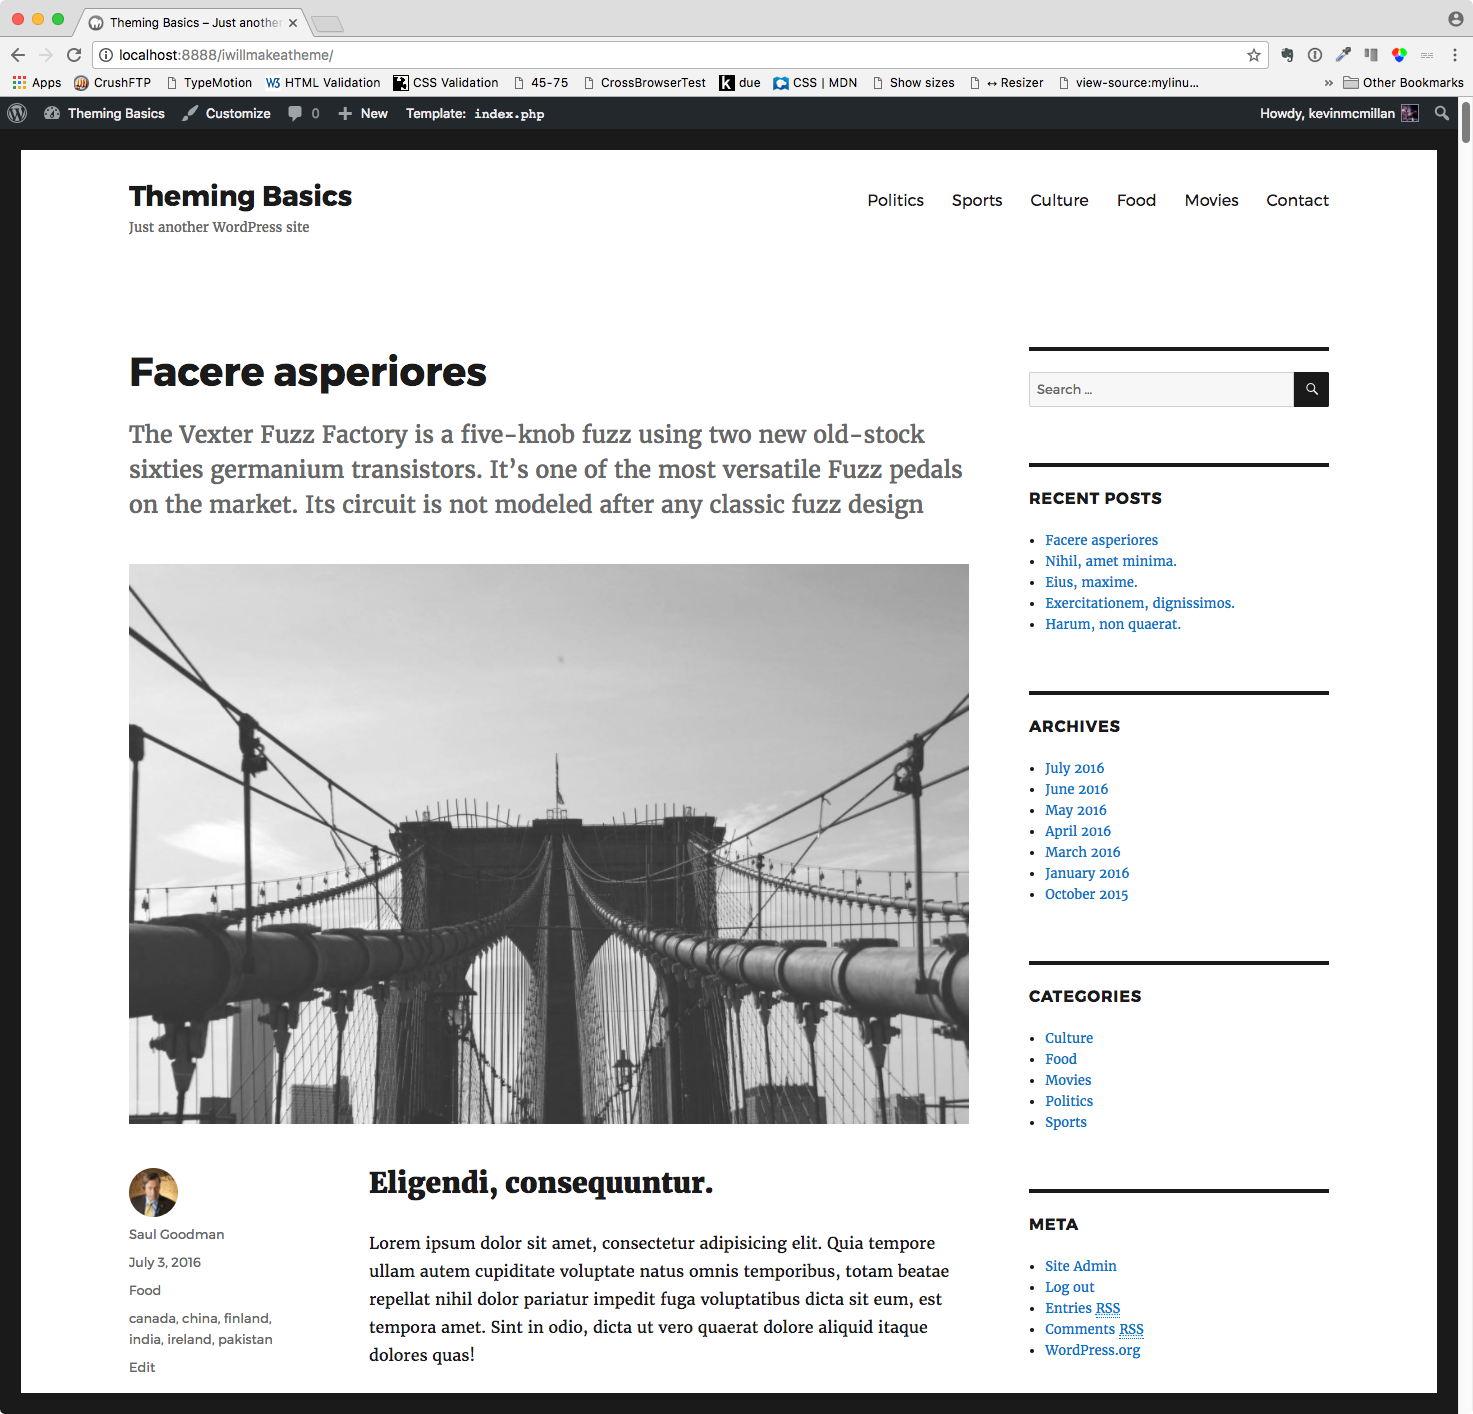
Once you get through the Duplicator site installation, go to the front of your site. Viewing the content in whatever the default theme is at the time you read is, you will see that you have a bunch of posts, mostly with lorem ipsum text, but with feature images, different authors, tags, categories, etc.
Turn on Debugging
Before we start creating our theme, it will be helpful to make a quick edit to a configuration file. That file resides on the root level of your WordPress installation, and its file name is wp-config.php.
This file stores the name of the database, the database user & password, and other information that will affect how WordPress behaves.
So open the file.
Here we want to change one value. Find this line, near the end of the file:
define( 'WP_DEBUG', false );Change the word false to true.
This will give help us find any mistakes in our code. It’s much nicer to see error in line 17 than a blank white screen.
If you move your local installation to a live site, make sure that you turn off debugging: it can be a security risk if hackers know where your site is breaking.
Create Your Theme
Inside the wp-content/themes folder inside your iwillmakeatheme installation, create a new folder. Name it iwillmakeatheme.
A basic WordPress theme needs only a few files. To start, we’ll make five. Using ATOM, Visual Studio Code, or any other web editor, create the following files:
- style.css
- header.php
- footer.php
- index.php
- functions.php
(Note that the name of the stylesheet is not plural.)
Here, then, is the way our project is currently set up (note: the screenshot is missing functions.php, but be sure to create it):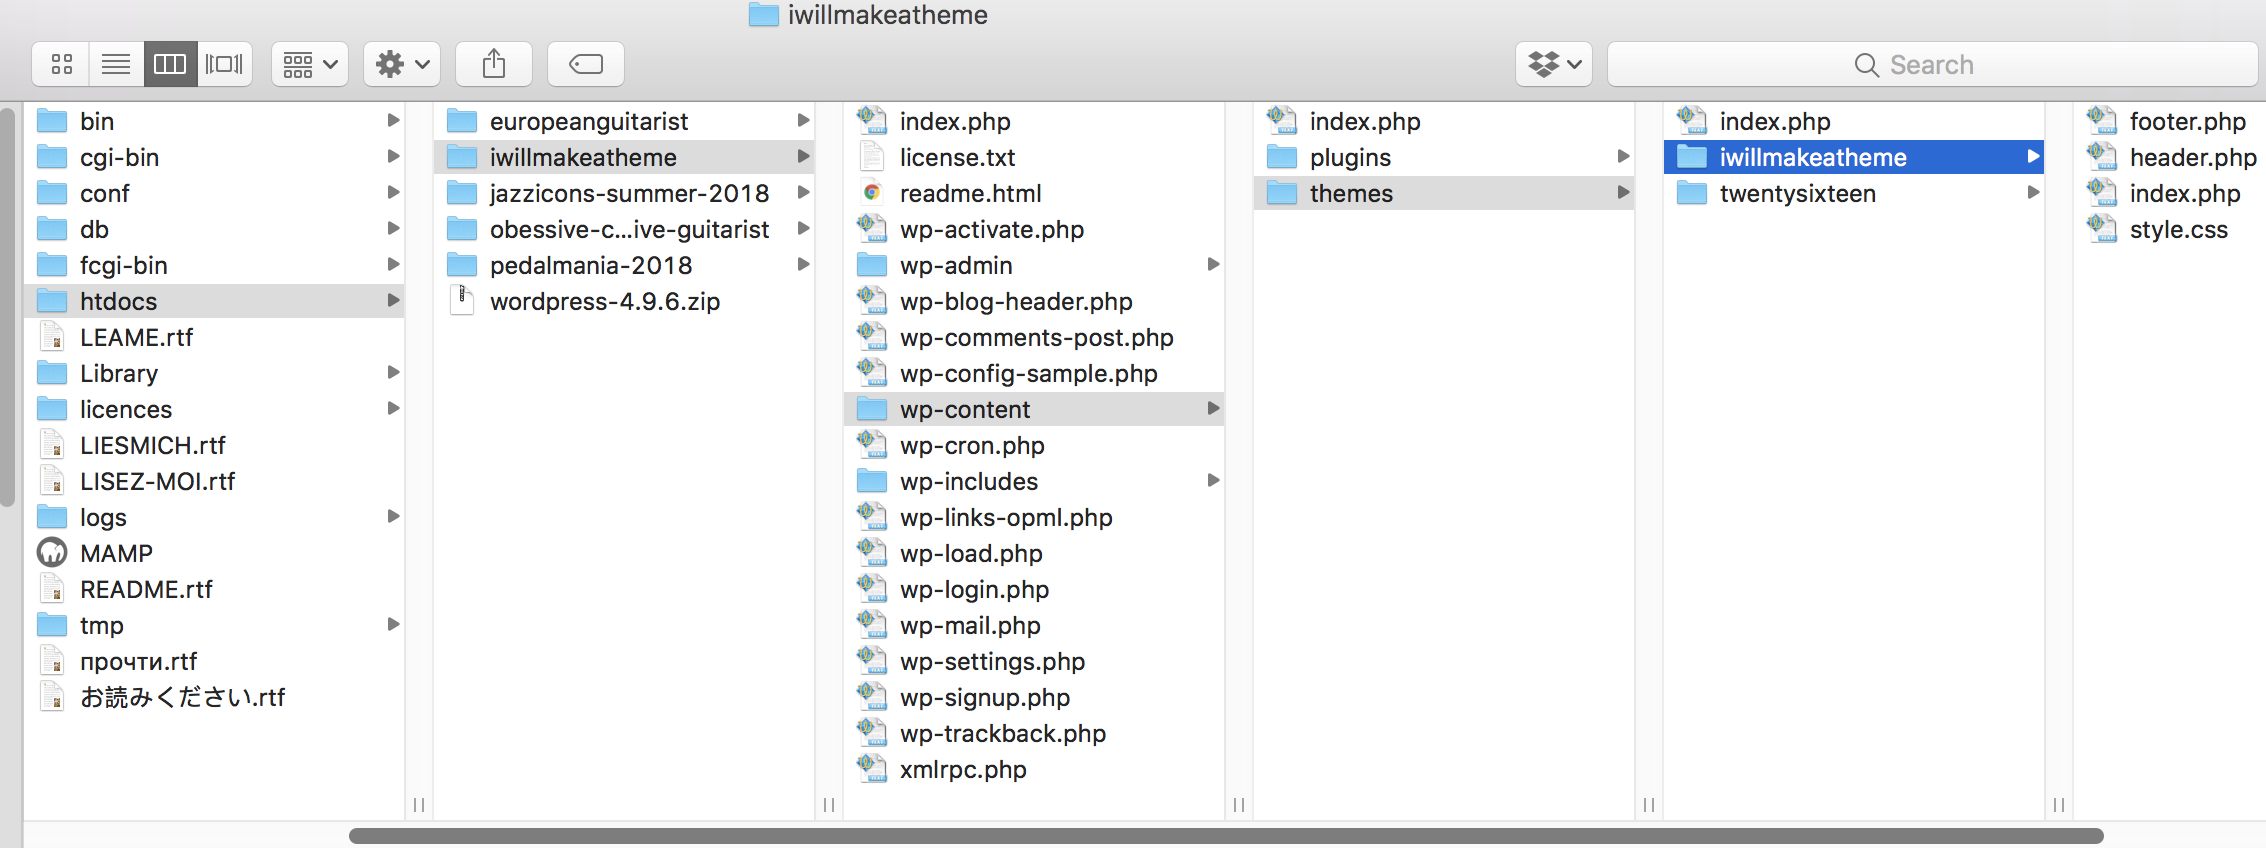
Open style.css for editing.
Inside that file add the following at the top, including the comment tags:
/*
Theme Name: I Will Make A Theme
Author: your name...
Description: A theme I am building to learn about theme building.
*/
This information will show up in the Themes area of the Dashboard. More information on the typical content found in this theme stylesheet comment block is available at the WordPress developer website.
How Our Basic Template Files Work
If you are using the ATOM editor, please follow the instructions on this page in order to make Emmet shortcuts work in PHP files. If you are using Visual Studio Code, don’t worry: Emmet will work in the PHP files, so you don’t need to do anything.
One of the main reasons for the existence of Content Management Systems like WordPress is that they cut down on repetition.
For example, the header and footer of most websites often don’t change at all. This is why we have created here them as separate files. Doing so lets us call them in as modules to be inserted into (or called from) other files.
So inside header.php, add the following:
<?php ?>

<!DOCTYPE html>
<html>
  <head>
    <meta charset="UTF-8">
    <meta name="viewport" content="width=device-width, initial-scale=1">
    <title>title</title>
  </head>
  <body>
  <div class="page-content">
    <main class="site-main">
Inside footer.php, add the following
<?php ?>

</main>
</div> <!-- end .page-content -->
<footer>
  <small>Site by insert-your-name</small>
</footer>
</body>
</html>
Apart from the opening PHP tag in each file, what’s clear if you look at them is that the two files together make a complete HTML document.
In other words, some of the tags that are started in the header file (html, body, .page-content) are not closed until the footer file.
Activate your theme, and them go to the front page of the site.
The Index Template File and Our First WordPress Loop
Now open up index.php for editing.
Inside that file, add the following:
<?php

    get_header();

    if ( have_posts() ) :

        while ( have_posts() ) :
           the_post();
           the_content();
        endwhile;

    else :
        echo 'Sorry, we have no posts for you.';
    endif;

    get_footer();
This is obviously a more complex file than the previous ones we’ve made, but I’ll explain what’s happening here.
Whenever the user goes anywhere in the site (by clicking a link, or typing in a URL, or submitting a search, etc), an HTML page is dynamically created by the web and database servers and sent to the user’s browser.
At this point, because our theme only has a few files, index.php would create all those web pages.
Here’s how it does it:
- The first instruction ( get_header() ) is to put the contents of the header.php file into the html file being created. This is the first half of an HTML document skeleton.
- The last instruction ( get_footer() ) is to put the contents of the footer.php file into the html file being created. This is the second half of an HTML document skeleton.
- Between the header and the footer is the code that gets the actual content. This is the most important code in a WordPress template: the loop.
- The loop firsts asks the database: do we have posts that fulfill the user’s requested content? (The request might come from a search, a clicked link, or just loading any URL in the site).
- What comes next depends on the answer to the above italicized question.
- If we do have posts, the next code (the while loop) starts outputting them until there are no more left.
- If we don’t have posts, the message “Sorry, we have no posts for you.” is output to the screen via the echo command.
Make sure all your files are saved. Now activate your theme (in the Dashboard: Appearance > Themes).
Go to the front page of your site. You will see either a blank page, an error message, or a bunch of posts (with no images, authors, categories, etc yet, but that’s coming).
If you are not seeing a bunch of posts, check that all your files are saved, that they have the correct names and extensions, and that the syntax is exactly the same as shown above.
If you do see posts, congratulations: you’re ready for part two of this exercise: common template tags.