If you want to know how to install SASS and/or Netbeans on your own computer, consult this document.
Set Up Your WordPress Testing Environment
Depending on what class we are in, I may give you a Duplicator archive and installer file and get you to install a sample WordPress installation, or I might get you to install WordPress from scratch in your development environment.
If the former, skip ahead to the next section after running the Duplicator installation process (which I will explain in class, if we haven’t used it yet already).
If the latter, download the latest version of WordPress, unpack the zip archive and put it in the htdocs folder inside the MAMP folder. For this example, rename this WordPress folder the same thing you named your theme. For example, in the above screenshot, I’ve named the theme midterm, so I’ll name this WordPress folder the same way
Fire up MAMP or some other development environment, create a new database, and connect the WordPress installation to that database by running through the installation process.
Add or import some content to your installation.
Install Your Starter Theme
In another article, I discuss how to download an excellent sassified starter theme from Underscores.me.
Put a new starter theme in wp-content/themes inside your WordPress folder.
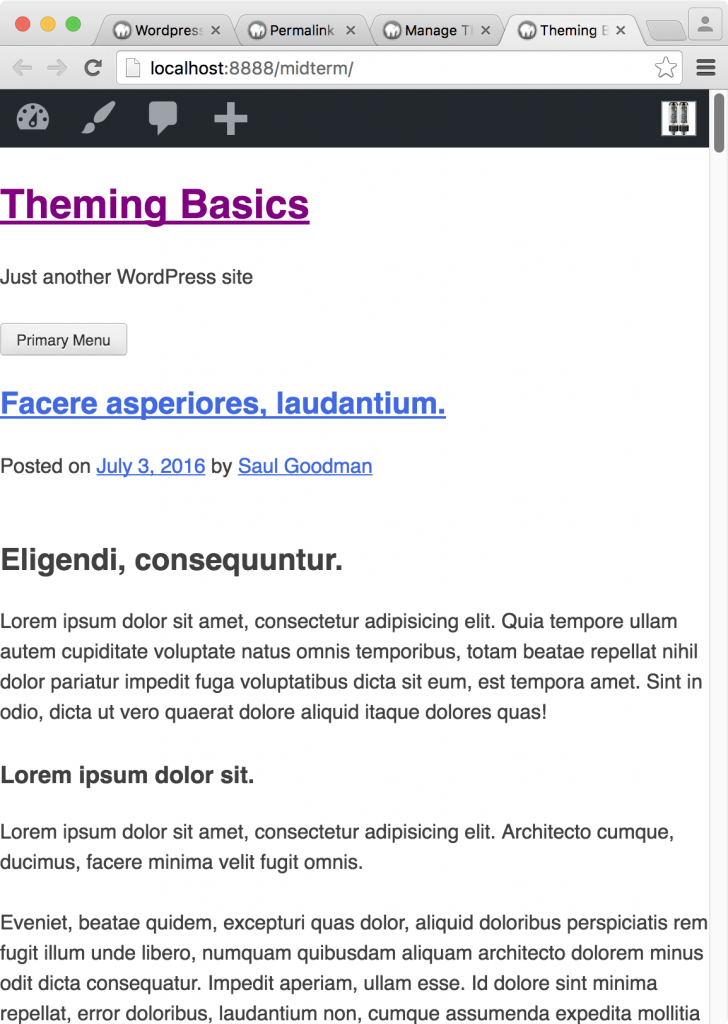
Log in to your WordPress installation. Then go to the front page. My sample content might look like this (at the time of writing, in the twentysixteen theme).
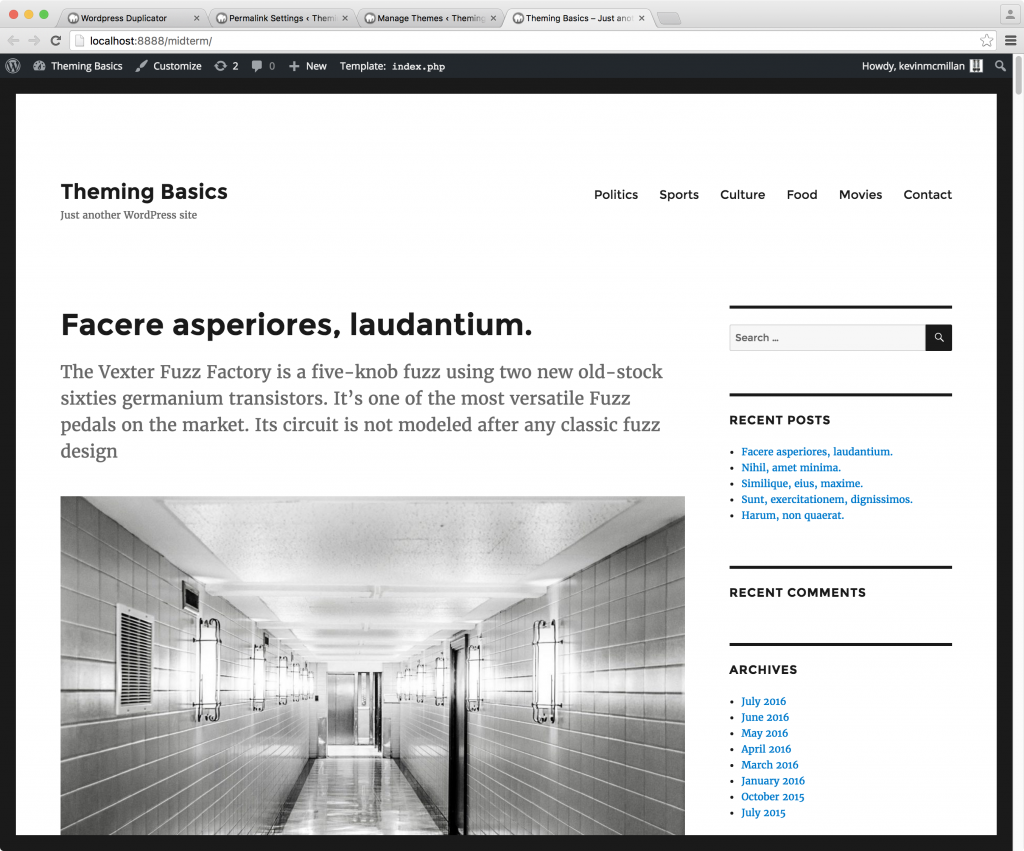
The sample content, in other words, has a bunch of posts with feature images, summaries, users, categories, menus, tags, etc.
Now activate your new Starter Theme from Appearance < Themes.
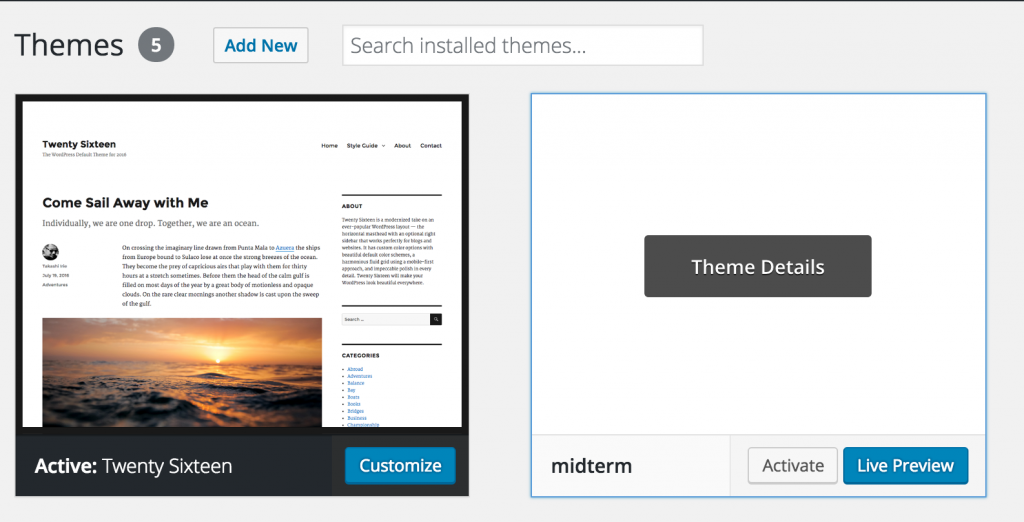
Once you’ve done that, go to the front page of the site.
Start a New Netbeans Project
The appearance is totally underwhelming, but that’s the point. The _s theme is built for you to style the theme as you like. Unlike with building a child theme, for example, there is very little to override.
So, here we need to create a new Netbeans project. Open the program. If the Netbeans “Start Screen” comes up, turn off Show On StartUp, then go File < New Project.
From the Categories pane, choose PHP. From the Projects pane, choose PHP Application with Existing Sources.
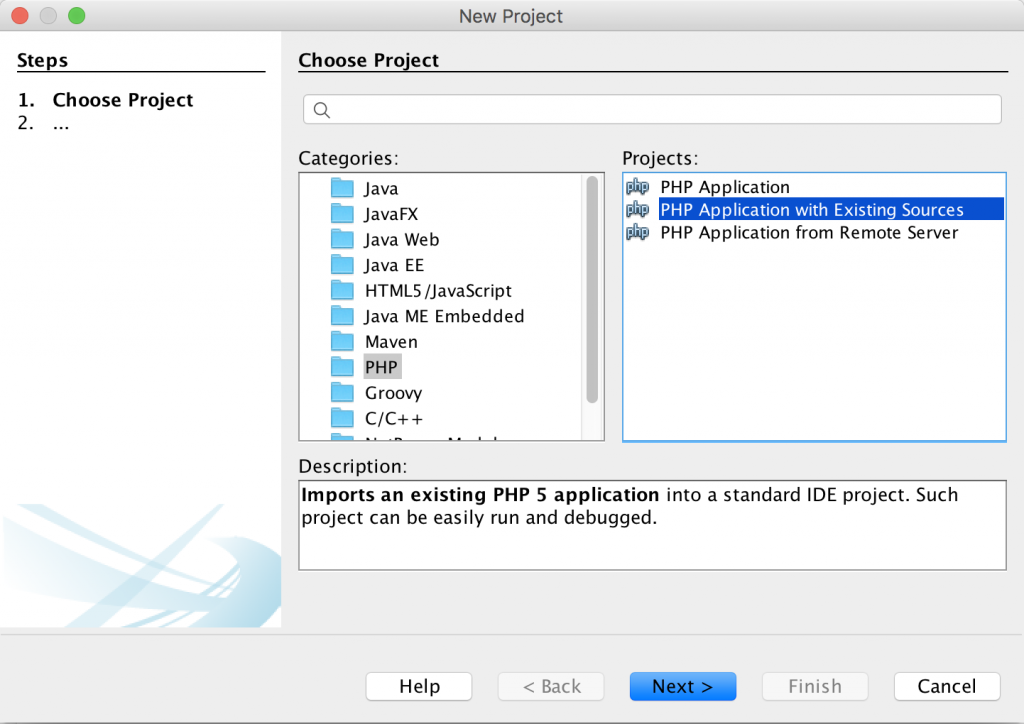
Click Next.
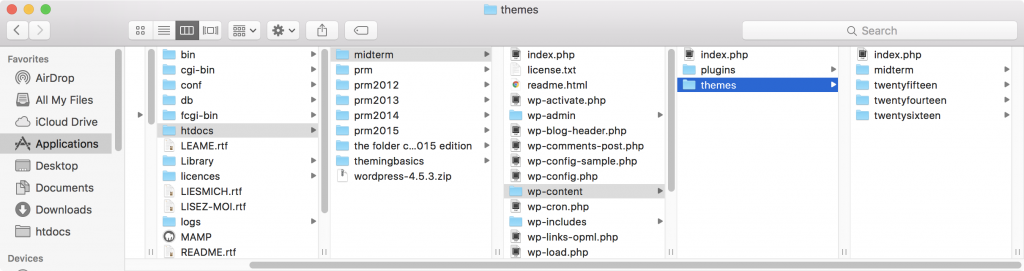
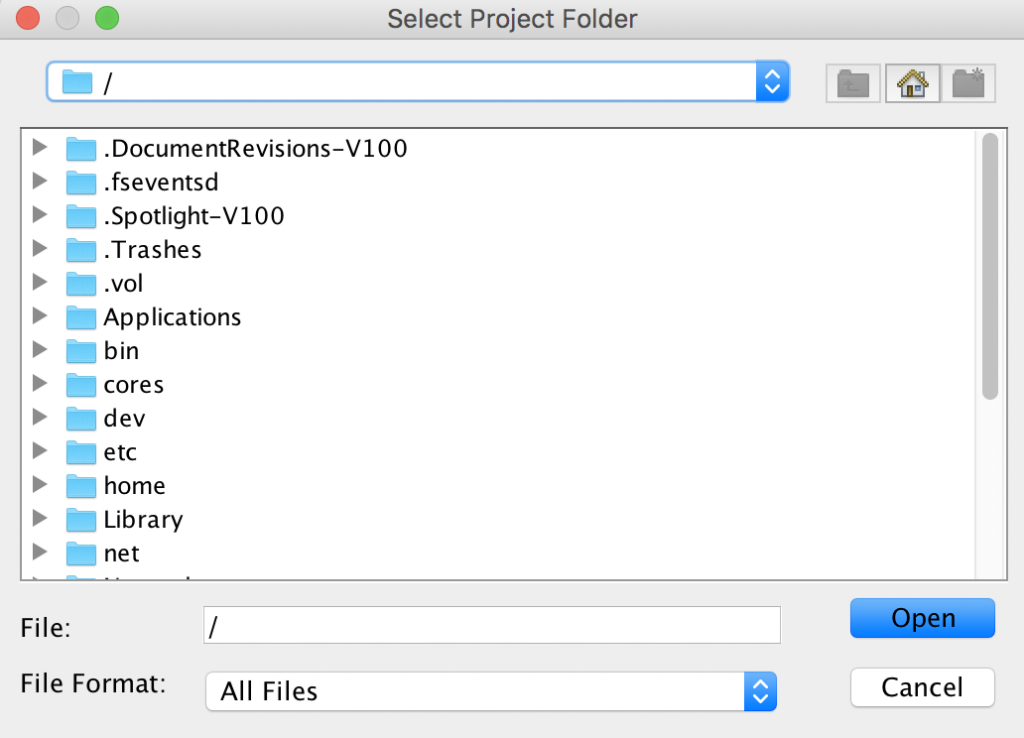
In the next panel, you need to locate your WordPress installation inside the MAMP htdocs folder. Click Browse. Netbeans might start from your home folder, so you may need to change the drop down menu to go to the root of the file system:
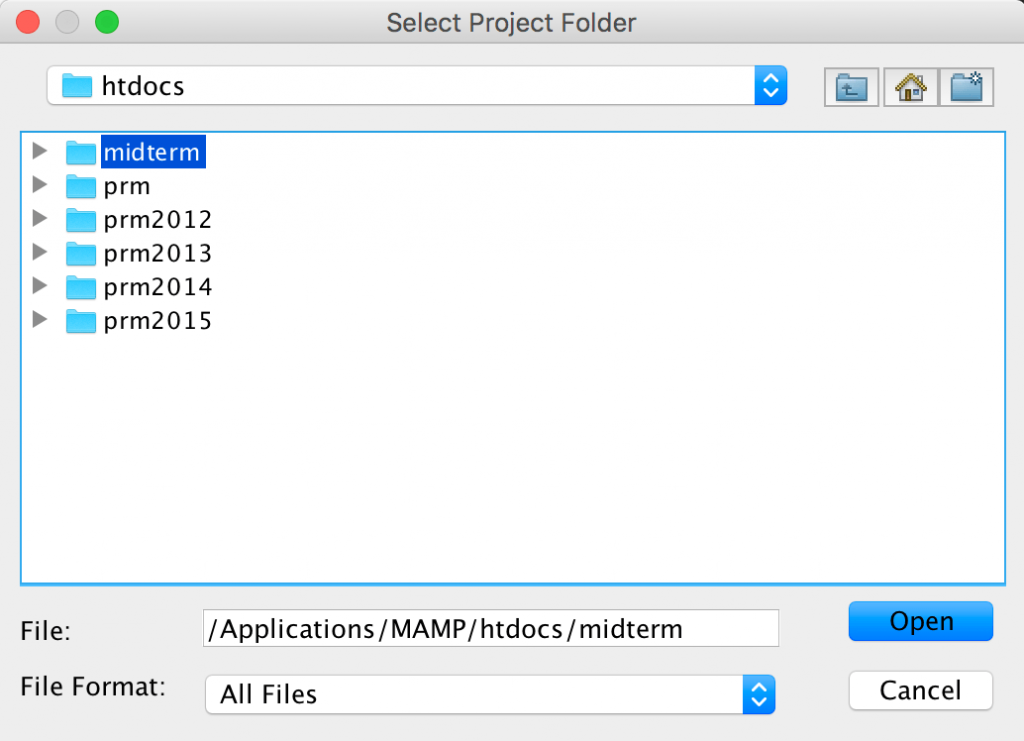
From there, you can navigate to Applications/MAMP/htdocs. Then choose the WordPress installation you set up above. In my case, it’s the midterm folder directly inside htdocs. In other words, it’s the WordPress installation, not the theme, that you set as the Project root.
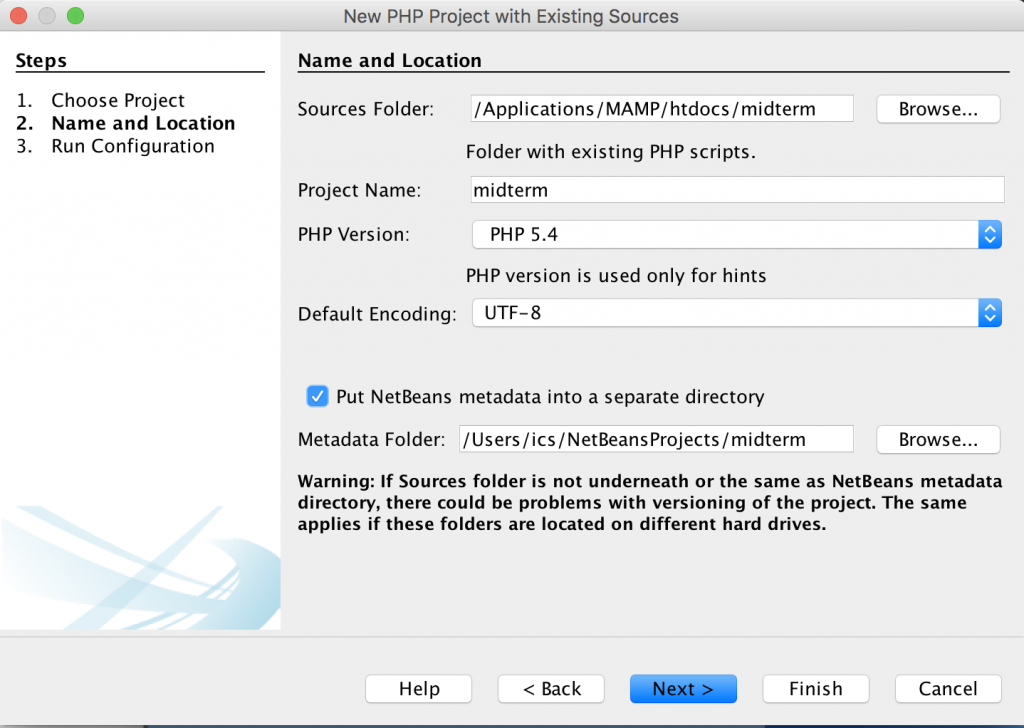
Once you click Open, you’ve designated your project folder. On the next screen, make sure your settings are as follows. (Basically, just click on Put Netbeans metadata into a separate directory, then click Next.)
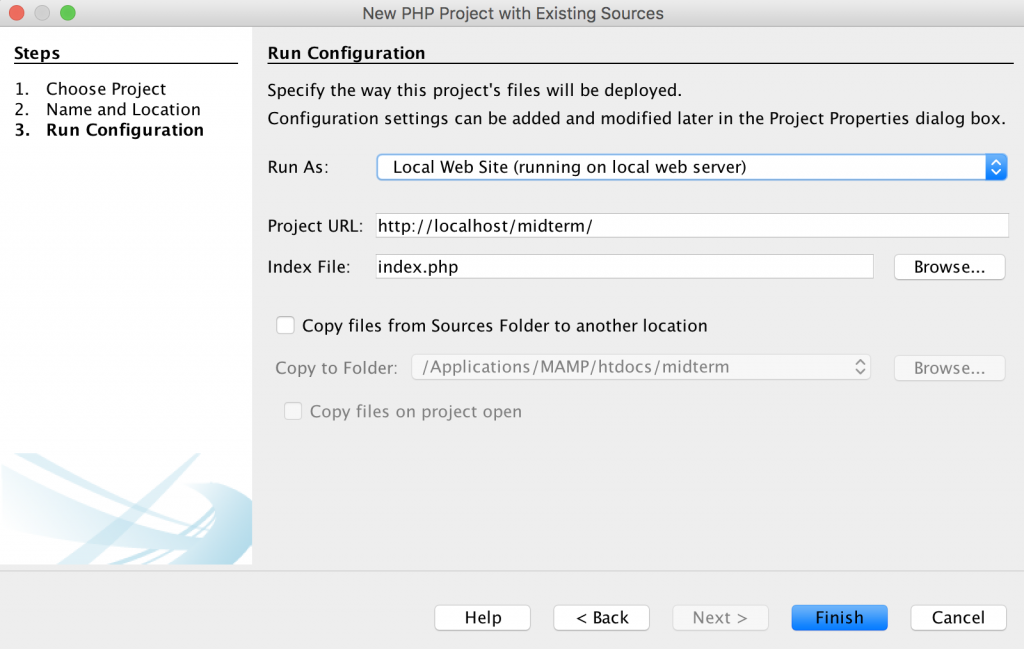
At the next screen, make sure that Run As is set to Local Web Site (running on local web server), then click Finish.
You should now be taken to the NetBeans editor. Your Project folder will be on the left.
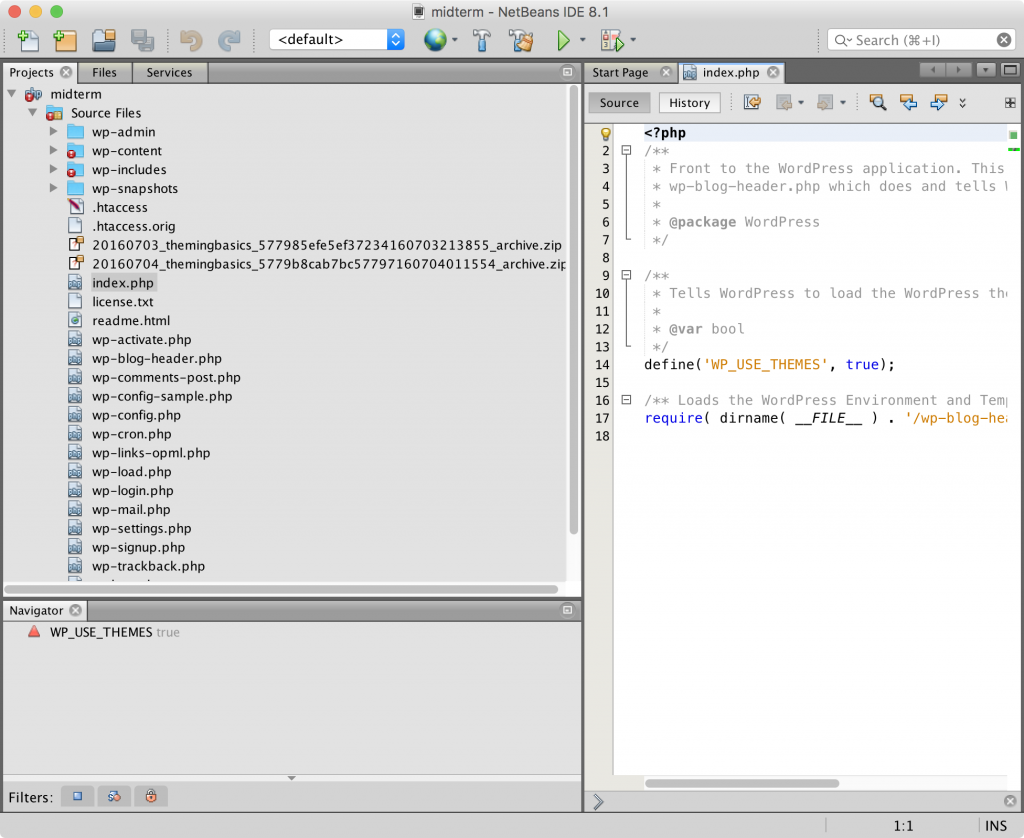
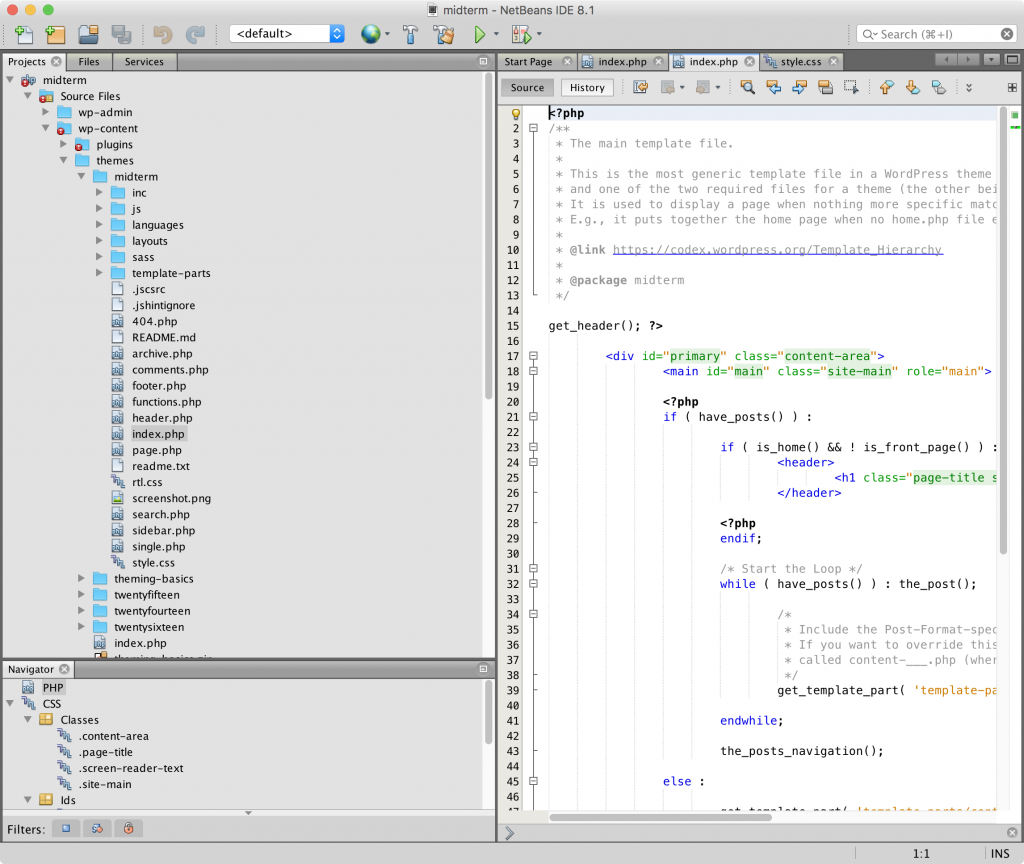
It’s very important to remember, here, that the files you will be editing—those contained in your starter theme—will be three levels deeper (inside wp-content/themes/theme name). Don’t edit any core WordPress files.
Here I’m editing my starter theme’s index.php file.
Configure Your Project For SASS
If you downloaded the sass-based underscores starter theme, you will notice the sass folder, inside of which is a style.scss file as well as additional subfolders.
Before we do any editing of our SASS files, though, we need to set up Netbeans to watch our sass files and compile them to css.
To do that, right click on the root project folder ( at the top of the project panel ) and choose Properties.
From the window that comes up, click on CSS Preprocessors.
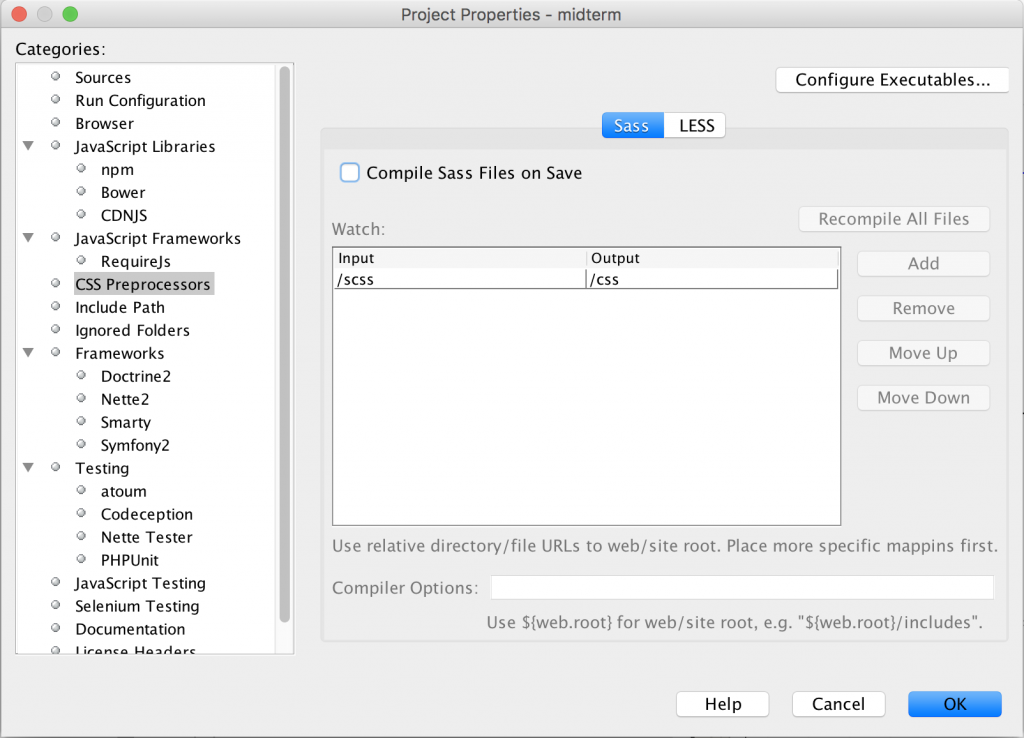
First we need to tell Netbeans where SASS is installed.
To find out on a Mac, open Terminal ( /Applications/Utilities ) and type which sass and then press Return.
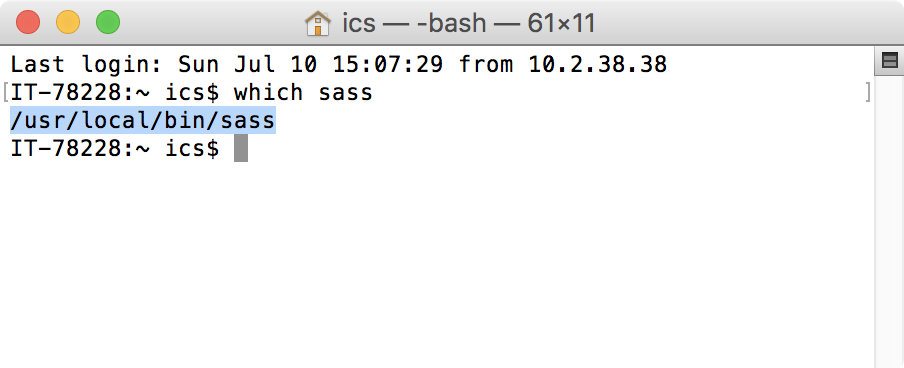
Copy the path, as selected in the screenshot above.
Armed with this information, click on Configure Executables in the Netbeans Preference window that’s currently open. That will open this window.
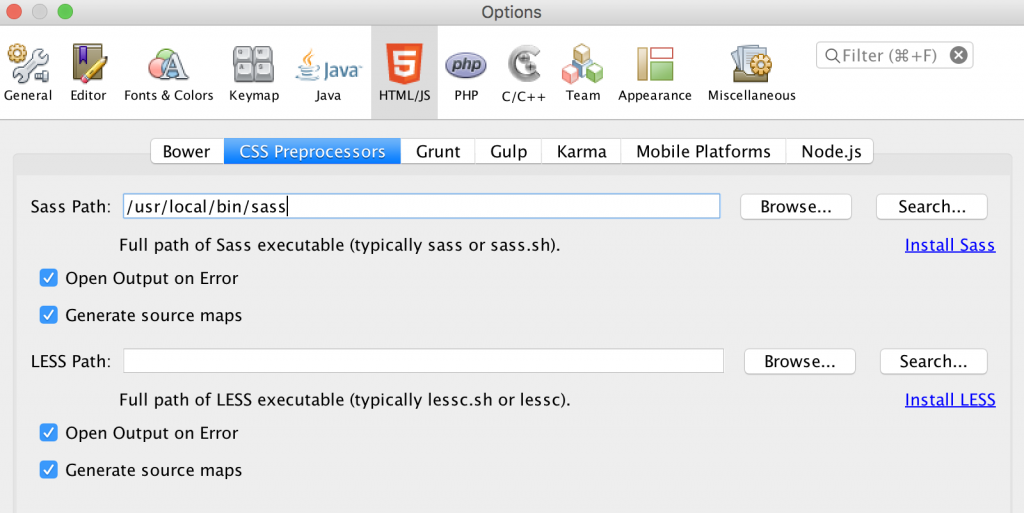
Paste the path into the Sass Path field.
Make sure that Open Output on Error and Generate Source Maps are selected, as above. That first option will get Netbeans to alert you when there are errors in your SASS, while the second will allow the Chrome Inspector to list which line of which SASS file your CSS comes from (which is very useful).
Click Apply and then Done. This should take you back to the screen below.
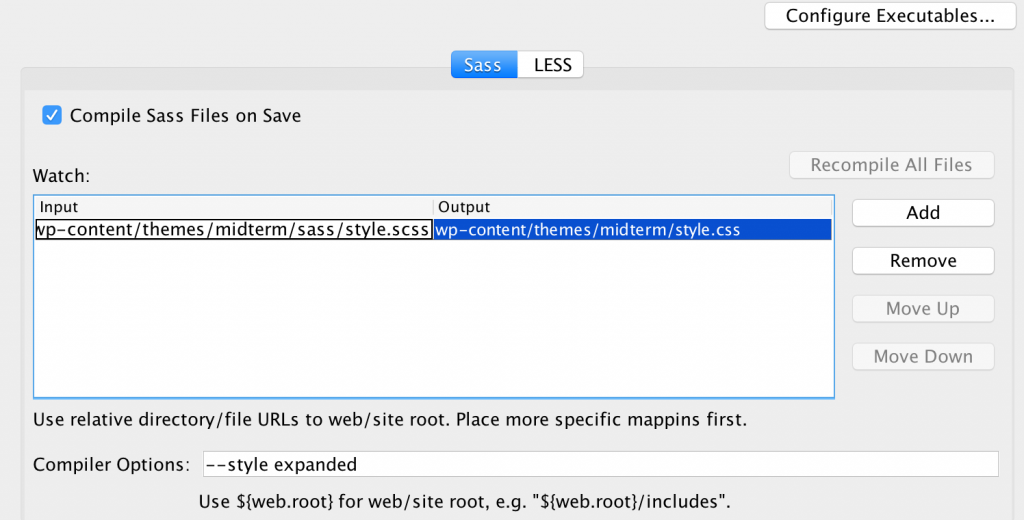
First, click on Compile Sass Files on Save.
Then you need to tell Netbeans which file(s) to watch. The screen here tells us to use relative directory/file URLs to web site root.
In light of the fact that my starter them is called midterm, this means that from the top of the Project, the path to my input file (style.scss in the sass folder) is:
wp-content/themes/midterm/sass/style.scss
while the path to my output file is
wp-content/themes/midterm/style.css
I find the interface a bit buggy here, in that what you put in doesn’t always stick, so here’s a tip: once you’ve put in the OUTPUT path, click back into the INPUT path to get the program to remember it.
The last bit I put in here was in the Compiler Options field. The –style expanded that I’ve put here will make sass write more human-readable CSS. Before using my theme on my website, I can change that to –style compressed in order to minimize file size, but until then having the more easily read css is preferable.
IMPORTANT NOTE: before the word STYLE in the compiler options are two dashes. The site you are reading is running WordPress, and it is turning the double dashes into an em-dash when output to the browser, but that code needs to be as in the screenshot.
Click OK. You should now be good to go.
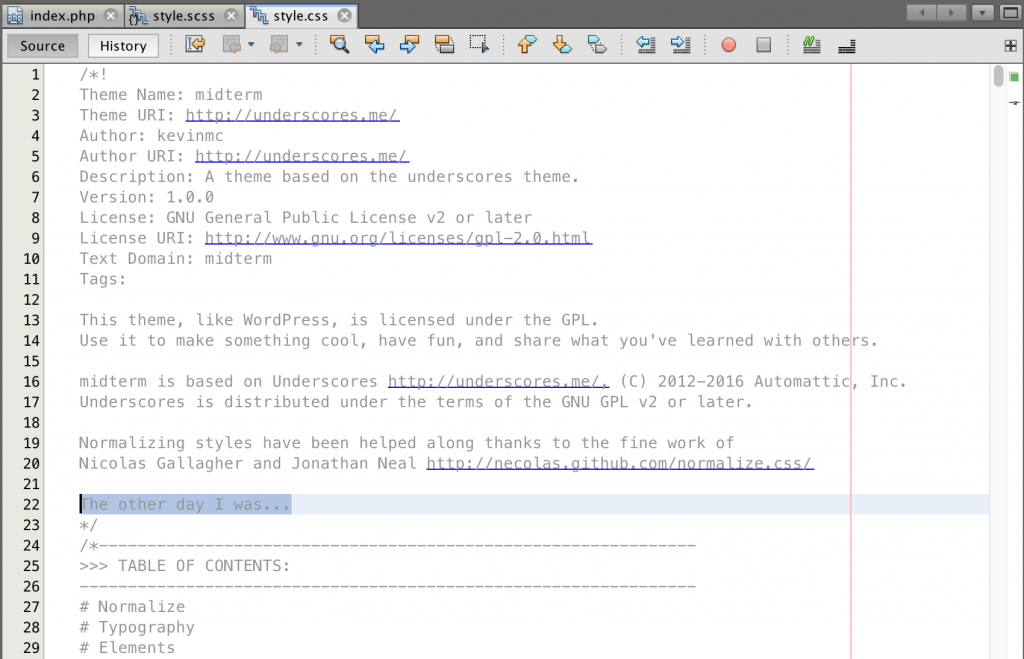
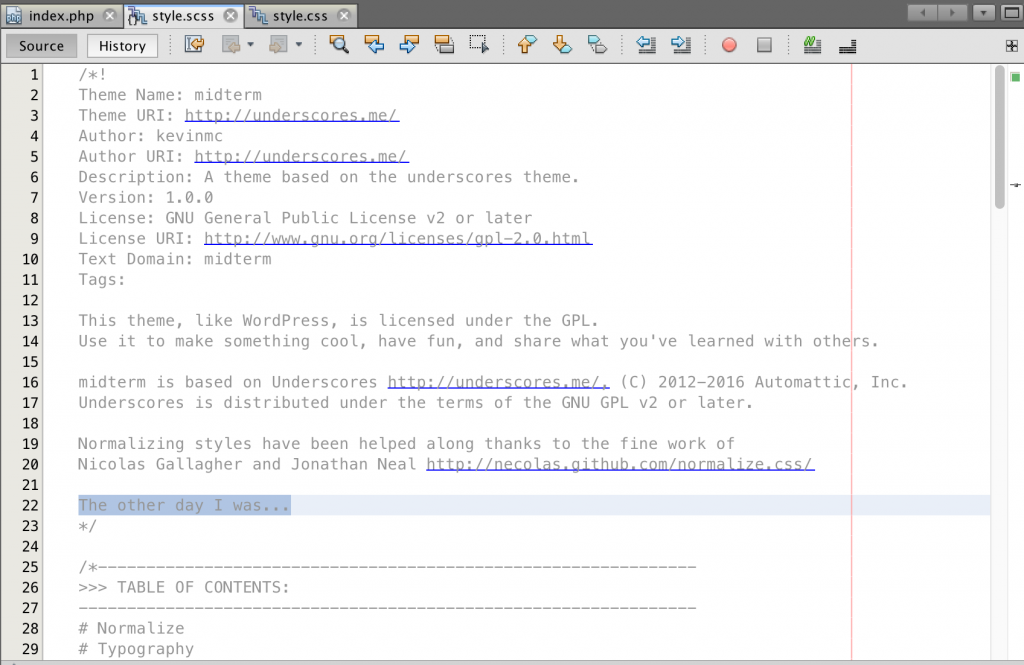
To test if everything’s wired up correctly, open up style.scss (your input file) and add a line to the comments section, then save the file. Now check to see if your comment has been added to the style.css file (your output file).
Below, we see my comment added to style.scss:
And here we see it in the compiled style.css document: