For this exercise, please download and install this Duplicator archive package into a new empty database.
Then download an underscores starter theme. If we have covered SASS in class, click Advanced Options and choose _sassify!
Once you’ve done that, please install the new starter theme into your newly created WordPress site and make sure to activate it.
Now go to Appearance < Menus.
Here you will notice that while I have created two menus for you in the Duplicated archive, underscores themes come with only one menu location (called Primary in the dashboard’s menu area):
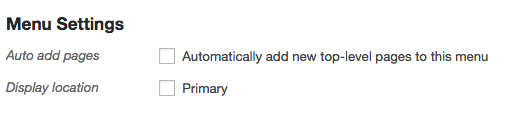
In this exercise, you will add another menu or two. Then you will make one work with font-awesome.
Introducing Functions.php
One of the mandatory files in a WordPress theme is functions.php. It acts like a plugin for your site, calling functions that happen when the site loads. With functions.php we can run setup functions, modify (filter) default WordPress output or other functionality, or add or remove features, etc.
As an aside: as you get more comfortable with theming, you might write plugins to achieve various aims rather than putting such code into functions. The reason for this is that a plugin is portable: it can be easily installed on other sites, whereas functions.php is obviously tied to the theme. Since menus are typically tied to the theme, though, it makes sense to keep that functionality in functions.php
Anyway, open functions.php in your editor.
Scoll down about 40 or 50 lines. You are looking for the register_nav_menus() function. It should look more-or-less like this:
// This theme uses wp_nav_menu() in one location.
   register_nav_menus( array(
     'menu-1' => esc_html__( 'Primary', 'frunkle-2018' ),
   ) );
(The theme name, the second argument passed to the esc_html sanitizing function, will be whatever you named the theme at underscores.me. The sanitizing functions will be discussed in a later class ).
What do these elements mean? There’s really only two things we need to make note of here:
- the register_nav_menus() function is passed an argument in the form of an associative array of name-value pairs
- that array pairs machine-readable names with human-friendly names. The former are used in template files to call that particular menu location. The latter are the names seen in the Dashboard menu locations area.
To illustrate, copy the single line that is inside the array and paste it twice, each copy on its own line. Change the number in the first part (ie menu-1, menu-2, etc) and the human-friendly names to the way I have done below:
// This theme uses wp_nav_menu() in three locations now!
register_nav_menus( array(
    'menu-1' => esc_html__( 'Primary Menu', 'frunkle-2018' ),
    'menu-2' => esc_html__( 'Secondary Menu', 'frunkle-2018' ),
    'menu-3' => esc_html__( 'Social Menu', 'frunkle-2018' ),
) );
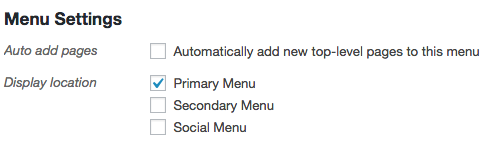
Now go to the Menu area of the Dashboard. You should now see in the MENU LOCATION setting area all three menu locations.
As you might expect, the human-readable text can have spaces and special characters, whereas the machine naming has to follow typical coding naming conventions.
We do not, moreover, have to keep the menu-1, menu-2, menu-3 machine names as above. I typically change the machine names to something easier to remember, like the following:
// This theme uses wp_nav_menu() in three locations.
register_nav_menus( array(
    'menu-primary' => esc_html__( 'Primary Menu', 'frunkle-2018' ),
    'menu-secondary' => esc_html__( 'Secondary Menu', 'frunkle-2018' ),
    'menu-social' => esc_html__( 'Social Menu', 'frunkle-2018' ),
) );
Since the machine-readable-name is this name by which we will call the associated menu in template files, it makes sense to me to name them as above, but you may find other names more obvious for each project.
Menu Locations in Template Files
If you go to the front page of your site now, you will probably find that your menu does not show up (depending on how it’s named). The reason is that we changed the machine-name from menu-1 to menu-primary.
We will fix that first. Open header.php in your editor.
Scroll down to where you find the NAV element, somewhere near line 40 after the site-branding section.
<nav id="site-navigation" class="main-navigation">
	<button class="menu-toggle" aria-controls="primary-menu" aria-expanded="false"><?php esc_html_e( 'Primary Menu', 'frunkle-2018' ); ?></button>
    <php
      wp_nav_menu( array(
      'theme_location' => 'menu-1',
      'menu_id' => 'primary-menu',
      ) );
    ?>
</nav><!-- #site-navigation -->
Change the value associated with the theme_location key to menu-primary as below:
wp_nav_menu( array(
 'theme_location' => 'menu-primary',
 'menu_id' =>; 'menu-primary',
 ) );
You will no doubt have noticed that there is another key here: menu_id. This is the CSS ID that WordPress will attach to the menu in the outputted HTML so that you can refer to it uniquely in your CSS. Change that to menu-primary as well.
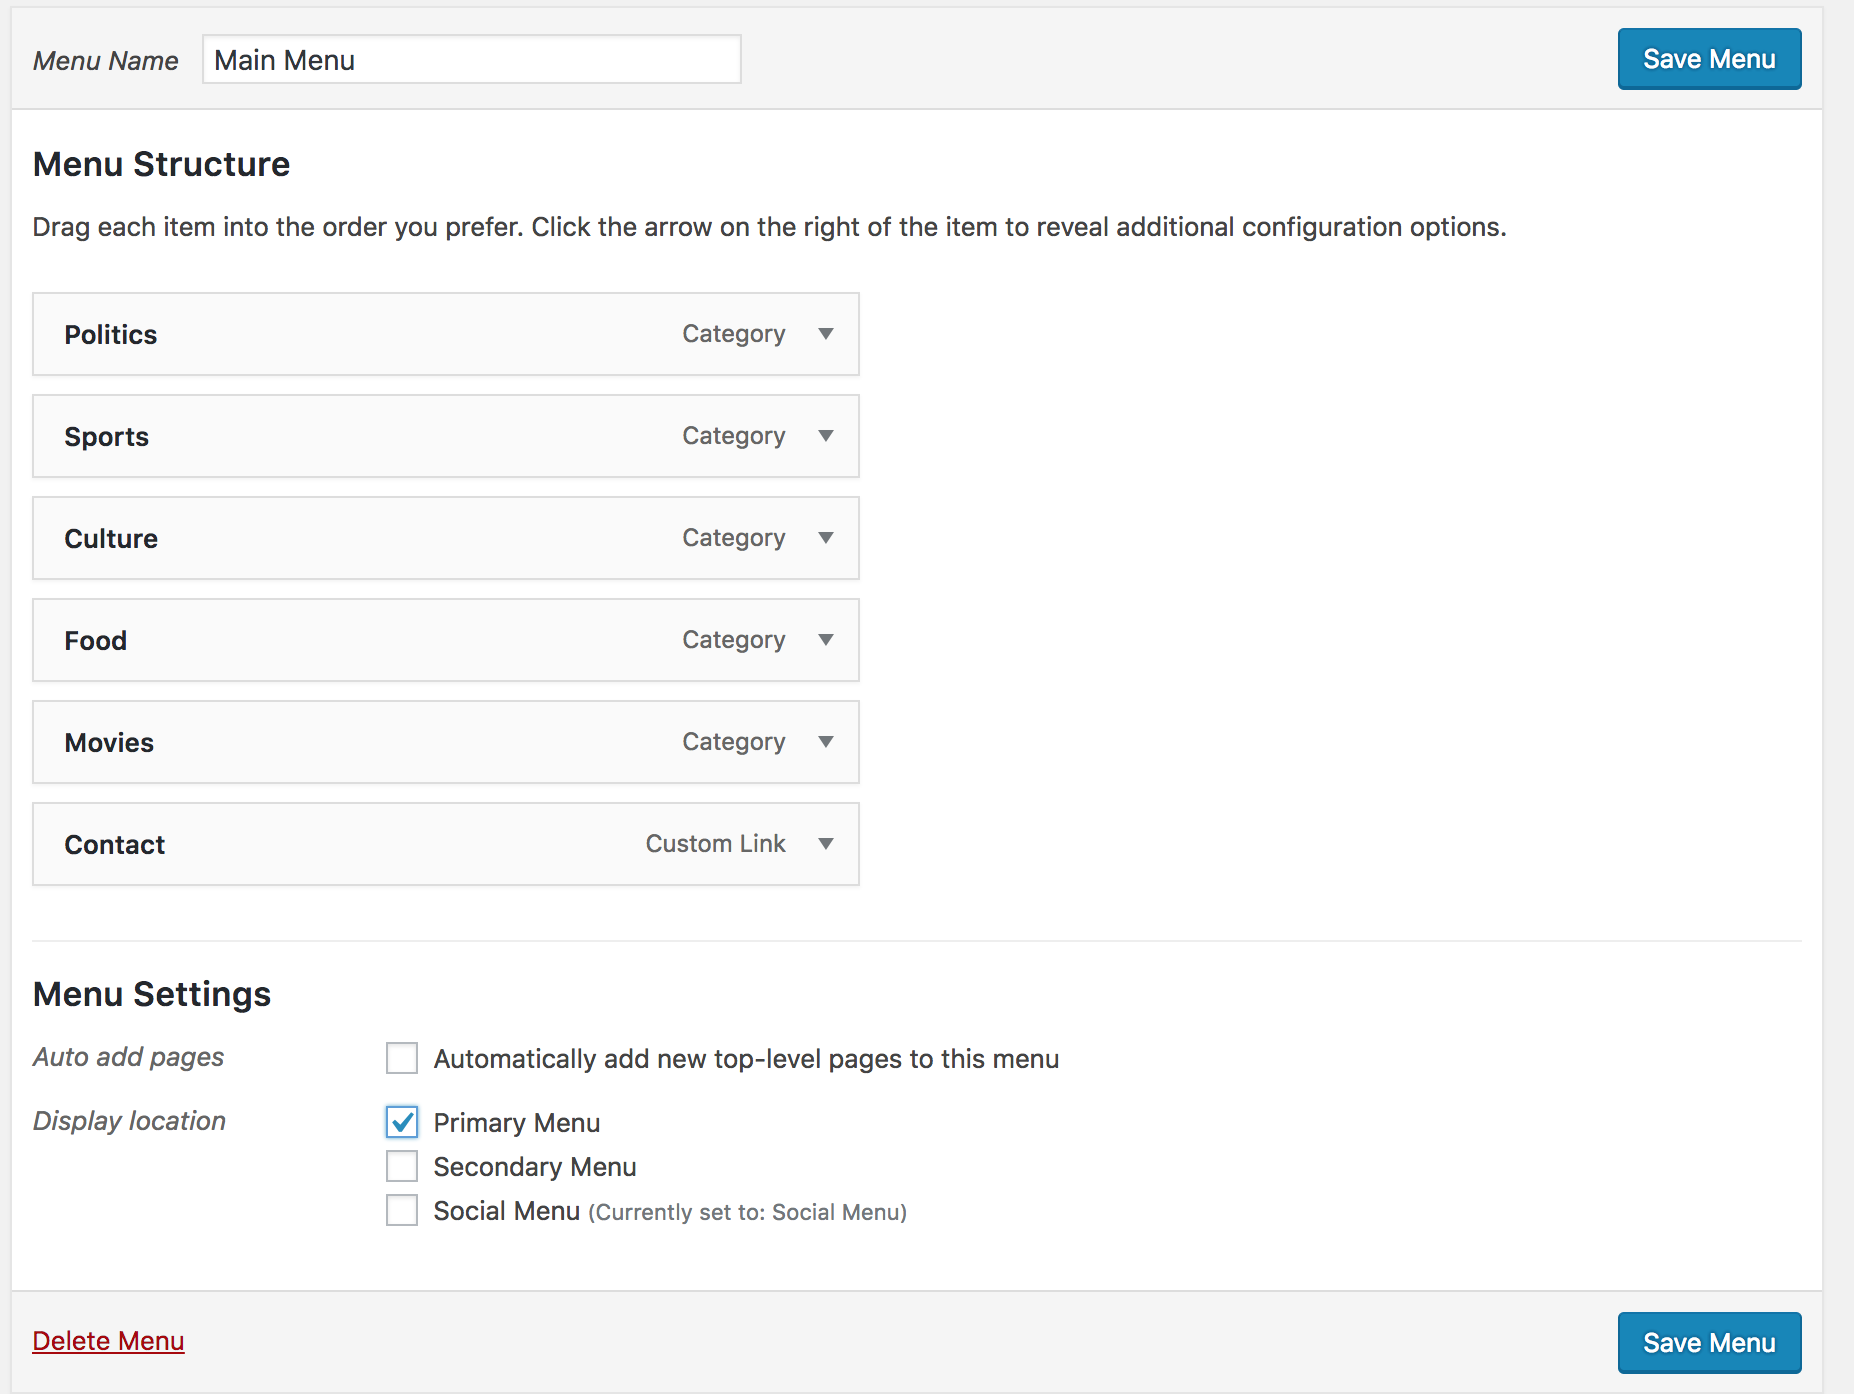
Now go to the Menu area of the Dashboard and make sure that the menu I created for you called Main Menu is assigned to the Primary Menu location.
Reload the front page of your site in the browser. Inspect it in your browser’s Developer Tools and make sure that the output HTML does indeed have the menu-primary id.
![]()
Code Challenge, Small
Add a Class to the Menu
Using the WordPress Code Reference page on wp_nav_menu, figure out how to add a class of menu-primary to the menu.
![]()
Be sure to inspect the menu that’s output and make sure that your new menu-primary class has been added.
Add Another Class to the Menu
Now figure out how to add an additional class to the primary menu. Below, I’ve added a class of “menu” to the UL, in addition to the “menu-primary” class we added earlier:

Remove the Containing Element from the UL
While inspecting your menu code, examine the HTML structure around the UL.
Specifically, notice the parent element of the UL. We see here that, by default, WordPress wraps a DIV with a class of menu-name-menu-container around the UL (see it in the above screenshot: menu-main-menu-container).
Using the Code Reference page, figure out how to remove that container DIV when the menu is output to the page. In the screenshot below, we see that the UL now has a NAV element as a parent, not a DIV anymore.

Remove the Underscores Menu Button
Finally, remove the button that underscores has put in the menu. Your code should now be nice and tidy:

A New Menu Location
In the Dashboard, make sure the Social Menu in the installed site is assigned to the Social Menu menu location.
Once again, head back to your code editor: copy the entire NAV element from the header.php file and then open the footer.php file.
Paste your copied content just inside the FOOTER element inside footer.php.
We will need to change a few things here:
- change the NAV element ID and class
- change the value of the THEME_LOCATION to the machine-readable name
- change the ul ID and class to menu-social
with an additional menu class
We should be left with something like this. (It might be formatted slightly differently).
<nav id="social-navigation" class="social-navigation">
<?php
	wp_nav_menu( array(
		'theme_location' => 'menu-social',
		'menu_id'        => 'menu-social',
                'menu_class'     => 'menu menu-social',
                'container'     => ' ',
                            ) );
			?>
</nav><!-- #site-navigation -->

<!-- #social-navigation -->
Save your footer.php file and then go to any page in your site.
Right near the bottom of the page, you should now see the links to your social sites, in a more-or-less unstyled list.
In part two of this menu exploration, we will add font awesome and learn about the enqueuing functions that are fundamental to WordPress.