There are a number of scenarios under which you might need to move a WordPress installation.
- a changed domain
- changed hosting
- creating a testing environment
- moving a site created in a testing environment to a live server
The easiest way to move a site is to use the Export / Import functionality available in the Tools section in the Dashboard. If you choose to import attachments, WordPress will even get the media that are attached to your posts.
As I say, this is the simplest method. As long as the importing site can see the site from which the content was imported, this typically goes smoothly.
However, there are some drawbacks to this process. There is still a lot of manual set up (plugins, themes, etc). Media that was imported to the original site but not attached to posts will not be imported. And a live site cannot see a site created in a test environment like MAMP.
For that reason and more, it is a good idea to learn how to transfer a site from a testing environment to a live server. In my mind, the easiest and most reliable way to do this is to use the Duplicator plugin.
If you have ever installed a Duplicator archive to set up a WordPress installation in a testing environment, the process is almost exactly the same.
How to Do It
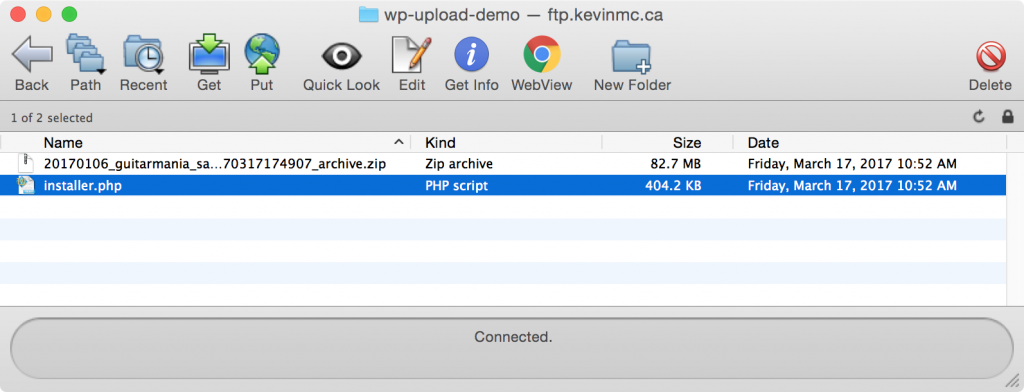
Upload the Duplicator Files
First of all, you will need to upload a Duplicator installer and archive file to your hosting environment.
If you have just set up hosting, the first or second email from your hosting company will contain information on how to login to your domain’s control panel.
Once logged in, you can use the File Manager feature in your host company control panel to upload the files.
In the screenshot below I have used SFTP to transfer the files, but the process is essentially the same.
The name of the folder in your host environment that you need to put your site into could be public_html, www, htdocs, your domain name, or some variation. The information the host company sends you will contain those details.
Here, I am putting the files in a subfolder of one of my sites, but if you wanted the site to be at root of your domain, you would not use the subfolder.
Make a Database
In your host company’s control panel, look for where databases are created. 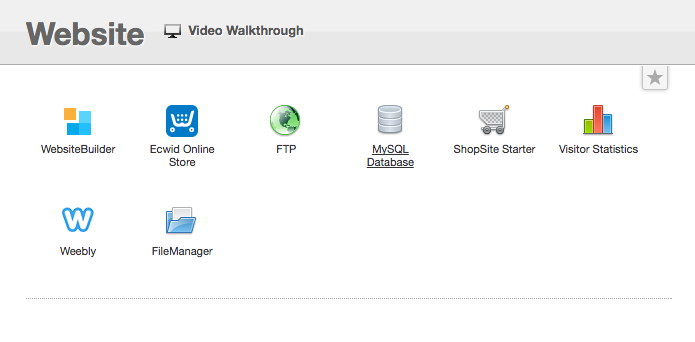
In my example here, I would click on MySQL Database. When making the database, use as obscure names and passwords as possible. Copy each field into a text file, though, because you will need that information during the Duplicator installation process.
.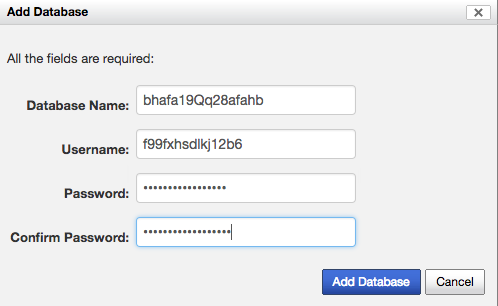
With some hosts, the creation of the database and the creation of the database user are separate processes. With this particular host, it was one, but don’t be alarmed if the steps are a little bit different from those presented here.
( This database and user were also destroyed after making this page, so there’s no security risk in posting this. )
Once your database has been created, you will typically be shown a screen showing your databases, as well as other relevant information, such as the database server name. For security reasons, I have blurred the server name as well as the names of the other databases I’m using in the next screenshot:
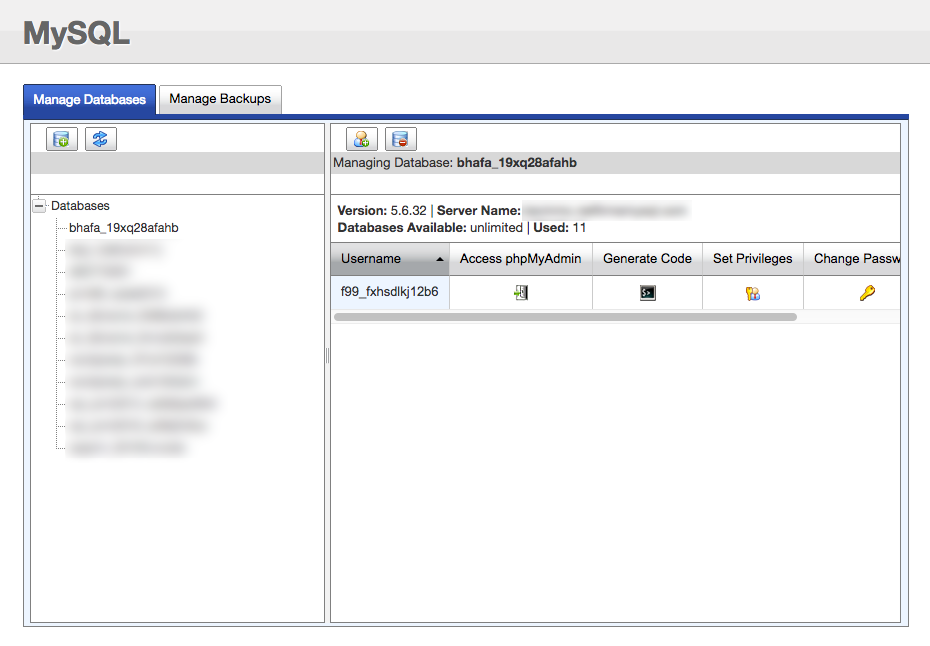
Add the database server name to your text file.
You are now ready to run the Duplicator installation process.
Install the Site
In a Web browser, go to the URL of the installer file that you uploaded earlier. You probably won’t be able to just go to the folder: for security reasons, most hosts will be configured to not generate an index of the files in a directory in the absence of an index file.
Here is the Duplicator process that starts when I go to this URL:
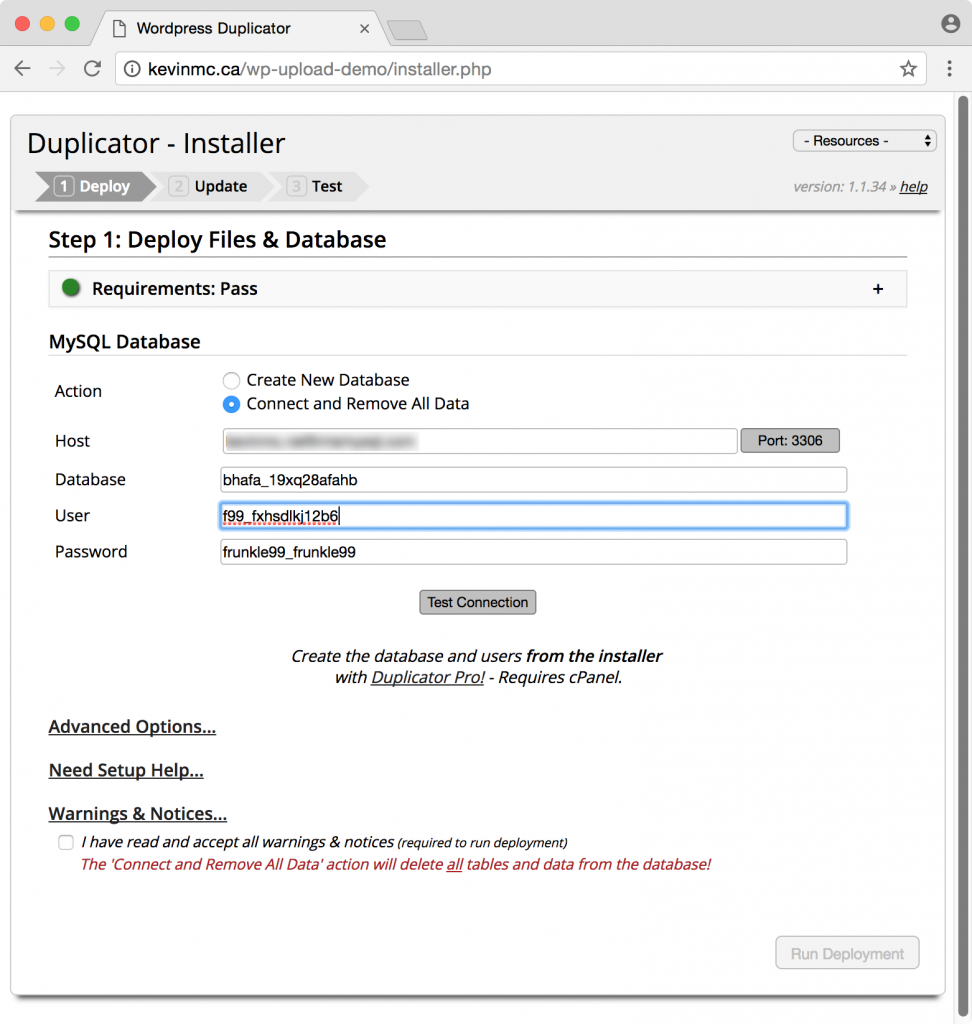
Test the Connection. If you have any problems here, check your settings. Some hosts will put a prefix in front of the database name and user: if you check in your CPanel listing of databases and users, that might become apparent. As well, some hosts will use LOCALHOST as the host reference. Some will use something more specific to their setups.
Otherwise, the process is the same as when you are setting up a MAMP installation with a Duplicator package.
Once you run through the process, Duplicator will try to delete the DUPLICATOR installer and archive files from that directory. Check that it’s successful. If not, you can delete those files from the File Manager.
Finally, if there are problems, remember that Duplicator creates a log file, which you can access from the Duplicator screen. The log file lists everything that the plugin does in sequence, so an error listing in the log can be very helpful for you, or support people.
Remember, ultimately, that if you still have problems here, you can contact your host company and start a support ticket. The problem might be new to you, but the person helping you as probably seen it 1000s of times.
NOTE: the site listed above was set up for the purposes of making these screenshots. It, and the database and user listed above, no longer exists.